1.4 | Color Assignment
Key Terms
- Sketch
- A quick, rough drawing used to explore an idea before committing time to it.
- Specifications (“Specs”)
- The exact, measurable requirements a finished design must meet (size, color mode, file format, etc.).
- Design Process
- The repeatable sequence of steps, research, sketch, refine, present, revise, a designer follows from idea to finished work.
- Wireframe
- A simplified, low-detail layout sketch showing where content and elements will go, without final styling.
- Prototype
- An early working model of a design used to test an idea before final production.
- Iteration
- One cycle of revising and improving a design based on feedback or testing.
- Change Order
- A documented request to change a project’s scope or specs after work has already begun.
- Draft
- A version of a design that is not yet final and is expected to be revised.
- Feedback Loop
- The repeating cycle of sharing work, getting feedback, and revising in response to it.
- Style Guide
- A reference document defining a design’s consistent visual rules (colors, fonts, spacing, logo use, etc.).
- Project Brief
- A written document that lays out a project’s goals, audience, requirements, and constraints before work begins.
No computers today. Guided notes, the final element assignment, then a class closure activity.
Part 1 | Guided Notes: Communicating Design Plans (~10 min)
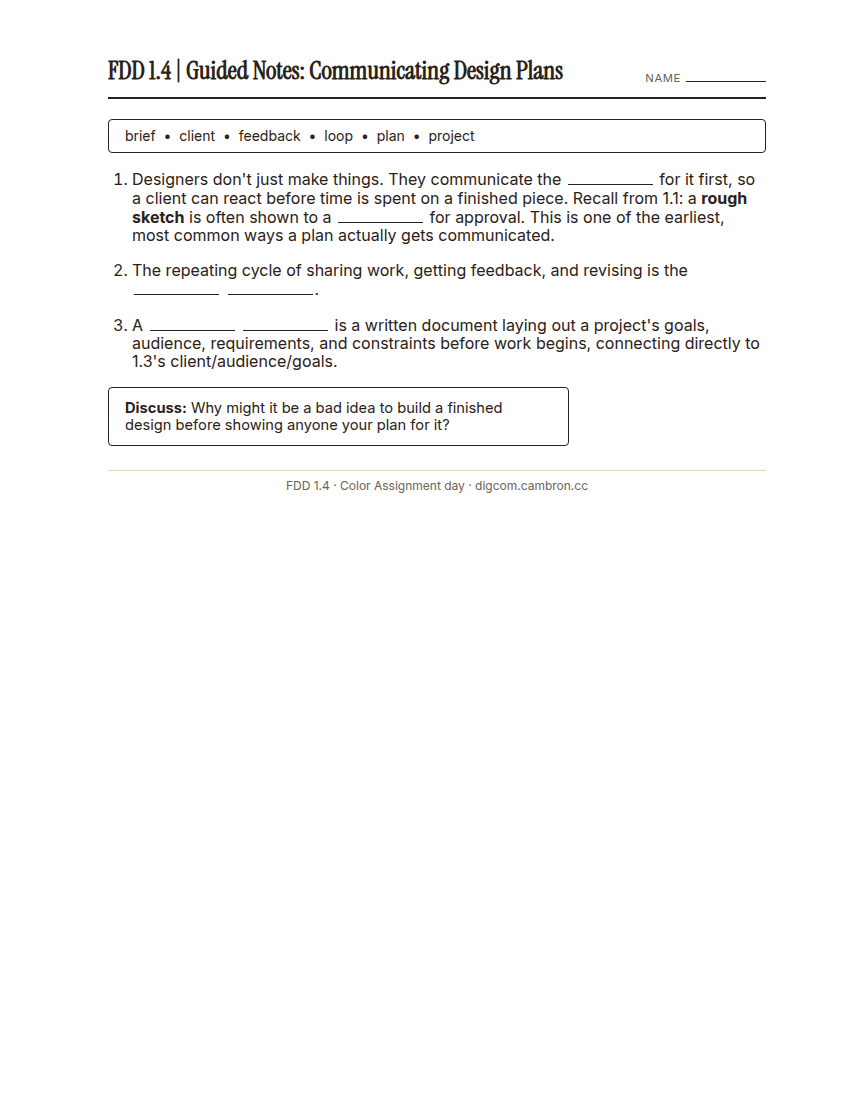
Complete the handout, three hole punch it, and keep it in your class binder.
⬇ Download Worksheet (PDF)Why might it be a bad idea to build a finished design before showing anyone your plan for it?
Part 2 | Color Assignment (~42 min)
Last element, same process, thumbnail → rough → comp, this time using color.
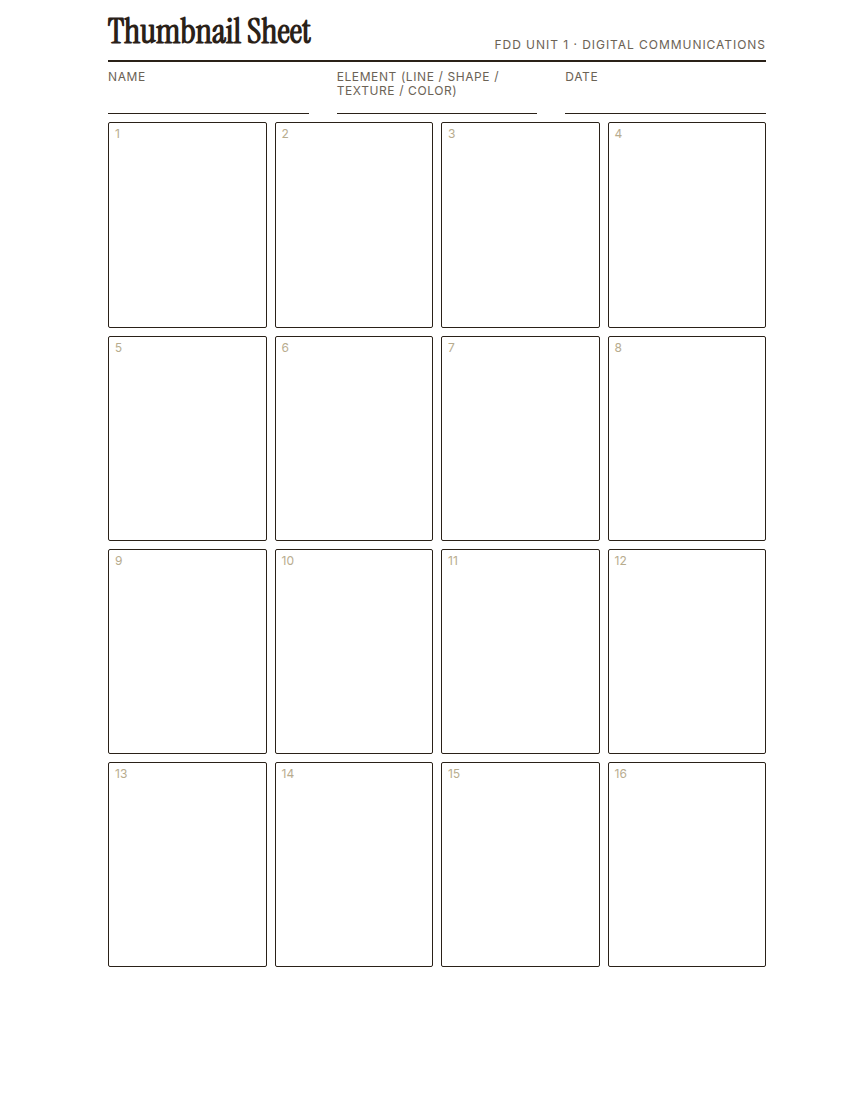
Complete the handout, three hole punch it, and keep it in your class binder.
⬇ Download Worksheet (PDF)- Thumbnails (~12 min): using colored pencil, draw 16 thumbnails of abstract patterns. Draw on what you noticed in the Line, Shape, and Texture assignments. Apply two contrasting colors of the purest hue (for example, purple vs. violet-red, green vs. yellow-green). Consider what happens where they overlap, or if you leave an area white.
- Select (~2 min): choose your 3 strongest thumbnails.
- Roughs (~14 min): develop each into a rough, using different hues of your chosen colors to create a sense of motion/energy or calm/stillness.
- Select (~1 min): choose your single strongest rough.
- Comp (~13 min): develop it into a finished comp using your full set of colored pencils.
Part 3 | Class Closure (~10 min)
Put all four of your finished comps (Line, Shape, Texture, Color) on the wall or your desk together and look at them as a set.
- Do your four comps share a unifying visual idea, or do they look like unrelated pieces?
- If you repeated all four assignments, what would you do differently to unify them?
Wrap-Up (~6 min)
Photograph your finished Color comp. You now have all 4 element comps. Decide which one is your overall strongest. You’ll recreate it in Illustrator on the S | 1 project day.
Which of your 4 comps (Line, Shape, Texture, or Color) is your strongest overall, and why?
🗂 Organize: Put your guided notes, your 16 thumbnails, your 3 roughs, your finished comp, and your answer to which of your 4 comps is strongest in your binder.
📤 Exit Ticket: 3-2-1. On a scrap of paper, write in complete sentences, not a list of fragments: 3 sentences describing things you did or made today, 2 sentences naming techniques or tools you used and how, and 1 sentence asking a question you still have.
Stuck on how to start? Try: “Today I ___. I also ___. I used ___ to ___. I also used ___ to ___. I’m still wondering ___.”