2.2 | Projects, Sequences & Bins
Key Terms
- Project Settings
- The technical specs chosen when a Premiere project is first created. Video/audio format, frame rate, and where render files are stored. Set once and rarely changed mid-project.
- Scratch Disks
- The storage location(s) Premiere uses to save captured media, previews, and cache files while you work. Should point to a fast drive with enough free space, not the same drive as your OS.
- Sequence Presets
- A pre-built set of sequence settings (frame size, frame rate, codec) matching common camera formats. Picking the preset that matches your footage avoids unnecessary rendering.
- Timecode
- The frame-accurate address of any point in a clip or sequence, shown as hours:minutes:seconds:frames (for example, 00:01:23:12), used to reference exact moments precisely.
- Project Panel
- The panel listing every asset (clips, sequences, graphics) imported into a project, organized into bins, like a project’s file cabinet.
- Source/Program Monitor
- Two side-by-side preview windows. The Source Monitor shows a raw clip before it’s edited in, the Program Monitor shows the sequence as it will actually play back.
- Properties Panel
- A panel showing the technical metadata (frame rate, resolution, codec, duration) of whatever clip is currently selected.
Every project you’ll build this year starts the same way: a new Premiere project, a sequence that matches your footage, and a clear bin structure. Before you ever make a single cut. Skip this step and you’ll spend the rest of the project fighting disorganized files instead of editing.
Direct Instruction (~10 min)
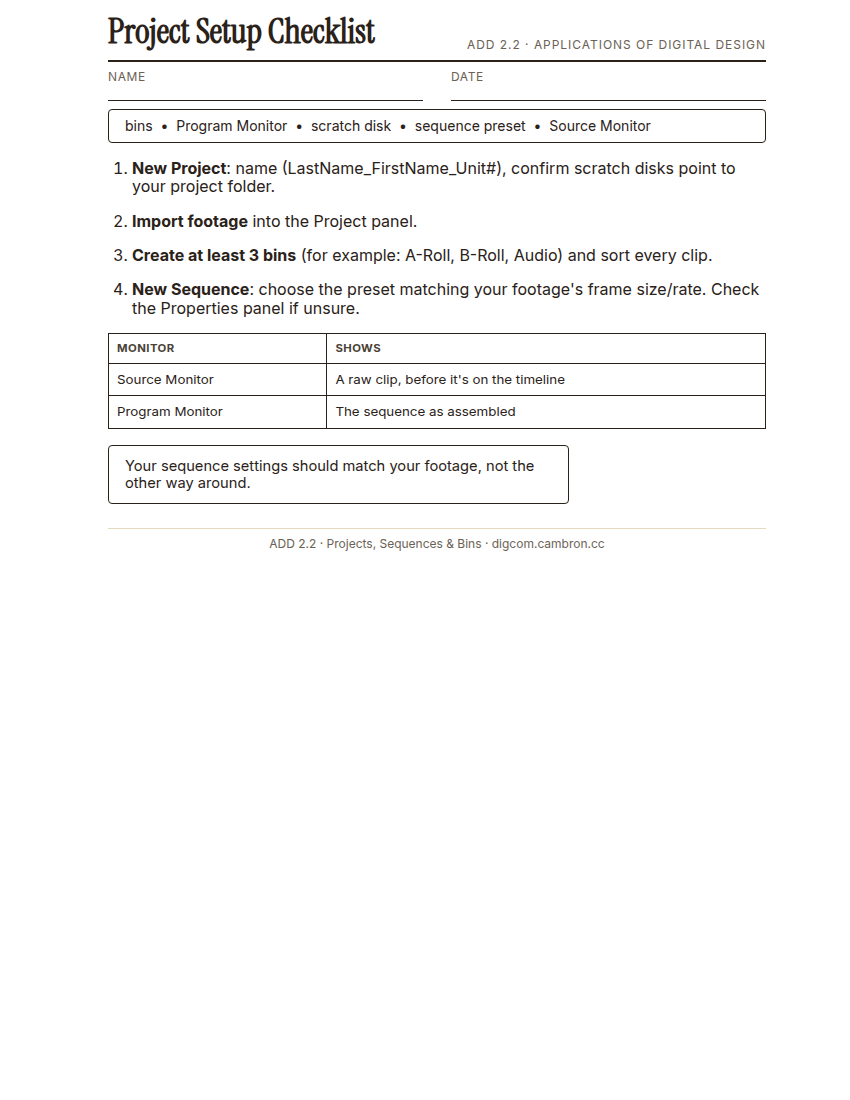
Complete the handout, three hole punch it, and keep it in your class binder.
⬇ Download Worksheet (PDF)“Every Premiere project starts with the same question: what format is my footage actually in? Your sequence settings should match your footage, not the other way around. That’s what a sequence preset is for.”
Walk through: File > New > Project (naming, project settings, scratch disk location) → import footage → File > New > Sequence (choosing the preset that matches the footage’s frame size and frame rate) → the Project panel and its bins → Source Monitor (previewing a raw clip) vs. Program Monitor (previewing the sequence).
Scaffolded questions. Cold-call through all three:
Recall: “What’s the difference between the Source Monitor and the Program Monitor?”
Analysis: “Why does it matter if your sequence preset doesn’t match your footage’s frame rate?”
Synthesis/Extension: “If you were handed a hard drive of 50 unsorted clips, what bin structure would you build before touching the timeline, and why?”
Guided Practice | Project Setup (~23 min)
- Create a new project, name it correctly (
LastName_FirstName_Unit2), and confirm your scratch disks point to your project folder, not the OS drive. - Import the provided sample footage into the Project panel.
- Create at least 3 bins (for example, A-Roll, B-Roll, Audio) and sort every imported clip into the correct one.
- Create a new sequence using the preset that matches your footage’s actual specs. Check the Properties panel on a clip first if you’re not sure.
- Turn and Talk: compare bin structures with a partner. Did you organize by the same categories?
If Premiere warns your sequence settings don’t match your footage, don’t ignore it. That mismatch is exactly what today’s lesson is about.
Cold call check: you open a project six weeks from now and every clip is just named IMG_0001.mov through IMG_0347.mov with no bins. What’s the actual cost of that, in time?
GMetrix/BrainBuffet (~30 min)
Start Module 1: Barbershop Social Promo: today’s sections cover the Premiere interface, trimming, audio, and Auto Reframe.
Exit Ticket / Wrap-Up (~5 min)
🗂 Organize: Put your Project Setup Checklist worksheet in your binder. Save your Project panel screenshot in the Screenshots folder of your Digital Design project folder on Google Drive.
📤 Exit Ticket: Glow & Grow. On a scrap of paper, write about today’s work in at least 3 sentences (aim for 5): describe one Glow (something that went well) and one Grow (one thing you’d do differently or improve next time), explaining each with real detail, not just a phrase.
Stuck on how to start? Try: “My Glow today was ___, because ___. My Grow is ___. Next time I’ll try ___.”