7.3 | Effects: Shadows, Glows & 3D
Key Terms
- Drop Shadow
- An Effect (Effect > Stylize > Drop Shadow) that renders a soft, offset duplicate of an object’s shape behind it to simulate a cast shadow. Adjustable for offset distance, blur, opacity, and color.
- Feather
- An Effect that fades an object’s edges into transparency over a set distance, softening a hard vector edge without changing the object’s actual path data.
- Glow (Inner/Outer)
- An Effect that adds a soft halo of light either inside an object’s edge (Inner Glow) or radiating outward from it (Outer Glow). Commonly used for neon signage or light-source effects.
- 3D and Materials
- A set of Effects (Extrude & Bevel, Revolve, Rotate) that build the illusion of a three-dimensional object from a flat 2D path, with adjustable lighting, surface shading, and material controls. Like every other Illustrator effect, it’s non-destructive and stays editable until the object is expanded.
Every effect in this lesson is non-destructive. It lives in the Appearance panel as an editable line, not baked into your artwork, until you choose to expand it.
Flat shapes read as flat. Today you’ll add depth and atmosphere to your work using Effects: Illustrator’s built-in, always-editable ways to add shadows, glows, blur, and even the illusion of three dimensions, all without redrawing a single path.
[10 Mins] Bell Ringer / Hook
Look at these two identical circles. One has a soft shadow behind it, one doesn’t. Which one looks like it’s floating above the page, and why?
“That shadow isn’t a second shape someone drew. It’s one Effect, and it’s still fully editable. Let’s see what else Effects can do.”
[10 Mins] Direct Instruction
“I Do”: using a single flat star shape, the teacher live-demos, one at a time:
- Effect > Stylize > Drop Shadow: adjusting offset, blur, and opacity while the class watches the live preview.
- Effect > Stylize > Feather: softening the star’s hard edge into transparency.
- Effect > Stylize > Outer Glow: adding a colored halo, then swapping it for Inner Glow to compare.
- Effect > 3D and Materials > Extrude & Bevel: turning the flat star into a dimensional object, adjusting extrude depth and rotation.
- Opening the Appearance panel throughout to show every effect listed as its own editable line, then demonstrating Object > Expand Appearance, and pointing out that afterward, the effects disappear from the panel because they’re now permanent path geometry.
Check for Understanding Recall: “Where do you go to adjust an effect’s settings after you’ve already applied it?” Analysis: “Why did the Drop Shadow disappear from the Appearance panel after I used Expand Appearance?” Synthesis: “You’re designing a logo for a nighttime music festival. Which effect from today would you reach for first, and what would you set its color to?”
[23 Mins] Guided Practice
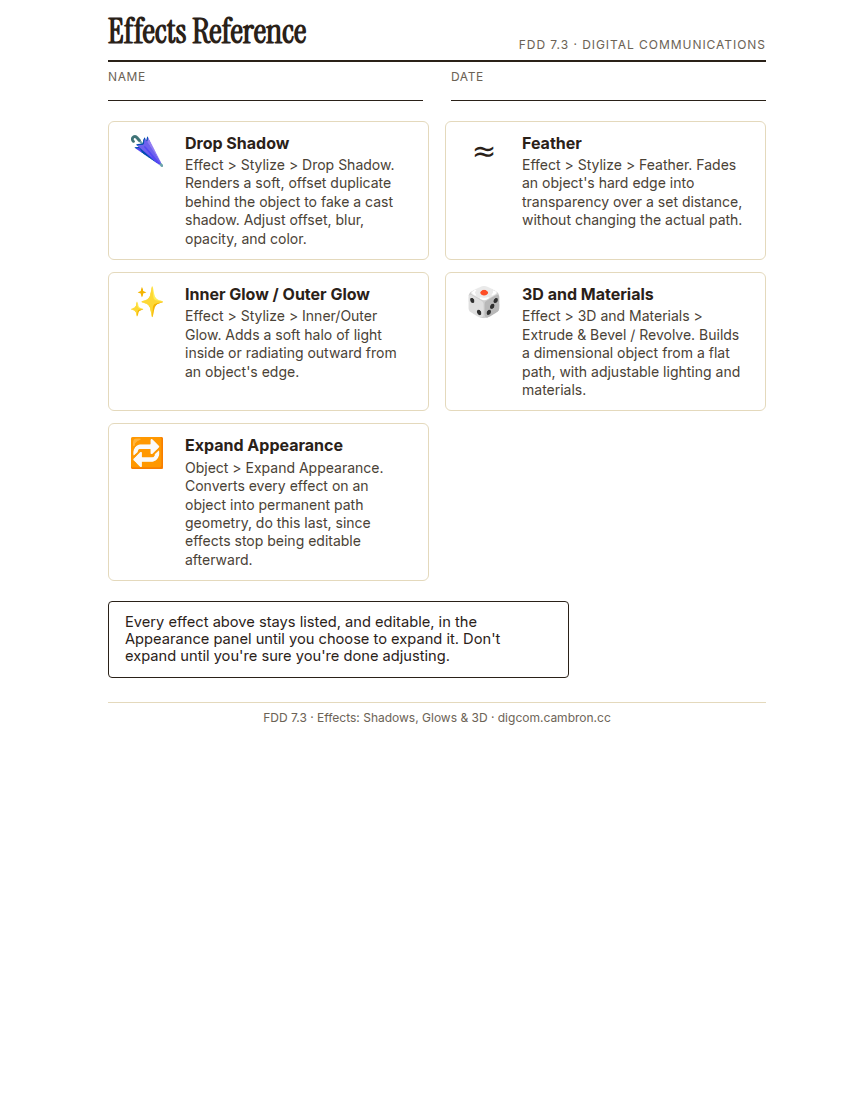
Complete the handout, three hole punch it, and keep it in your class binder.
⬇ Download Worksheet (PDF)Think-Pair-Share (2 min): before touching your file, tell your partner which one effect you predict will look best on your own 7.2 logo mark, and why.
- Open your saved 7.2 logo mark.
- Apply at least 2 effects from today (Drop Shadow, Feather, Glow, or 3D and Materials), adjusting each one’s settings. Don’t leave anything at its default.
- Check the Appearance panel to confirm both effects are listed as separate, editable lines.
- Do not expand your appearance yet. You’ll want these effects still editable for 7.4’s opacity and blending work.
[30 Mins] GMetrix / BrainBuffet Self-Guided Strand
Continue GMetrix Module 4: Dobson Poster. The poster’s title treatment leans heavily on drop shadows and gradients for depth: the exact skill you just practiced, applied at poster scale.
[5 Mins] Exit Ticket / Wrap-Up
Save your file as LastName_FirstName_7_3_Effects.ai.
🗂 Organize: Put one sentence explaining why you chose those particular effects in your binder. Save your logo mark with at least 2 effects applied (screenshot including the Appearance panel) in the Photos folder of your Digital Design project folder on Google Drive.
📤 Exit Ticket: Emoji Meter. On a scrap of paper, draw ONE face that matches how confident you feel about today’s skill: 🙁 (not yet), 😐 (getting there), or 🙂 (got it). Then explain why in at least 3 sentences (aim for 5), connecting your answer to something specific from today, not just a general feeling.
Stuck on how to start? Try: “I drew ___ because ___. Specifically, when I tried to ___, I ___. Next time I want to ___.”