4.2 | Shot Analysis & Camera Technique
Key Terms
- Pan / Tilt
- A pan moves the camera left-right on its tripod head; a tilt moves it up-down. Both rotate the camera without moving its position.
- Dolly / Truck
- A dolly moves the whole camera forward or back; a truck moves it left or right. Both reposition the camera itself, not just its rotation.
- Pedestal
- Raising or lowering the camera’s height without changing its angle.
- Camera Angle
- The vertical position of the camera relative to the subject. Neutral (eye level), low (looking up), high (looking down), or Dutch (tilted, for tension).
- Framing (Shot Size)
- How much of the subject fills the frame. From an extreme close-up (ECU, part of the face) to an extreme long/wide shot (subject small in the frame).
- Aperture
- The camera’s opening that controls how much light enters, measured in f-numbers. A lower f-number lets in more light and creates shallower depth of field.
- Shutter Angle
- The relationship between shutter speed and frame rate. 180° (paired with 24fps) is the standard cinema look. Larger angles blur motion more, smaller angles look crisper.
- Gain (ISO)
- A camera setting that boosts sensitivity to light. Useful in low light, but raising it too high adds visible noise/grain.
- Depth of Field
- How much of the shot (foreground to background) stays in sharp focus. Controlled mainly by aperture.
Great cinematography isn’t random. It’s a small set of deliberate choices (move, angle, framing, exposure) made over and over. Today you learn to name them, then make them yourself.
Direct Instruction (~10 min)
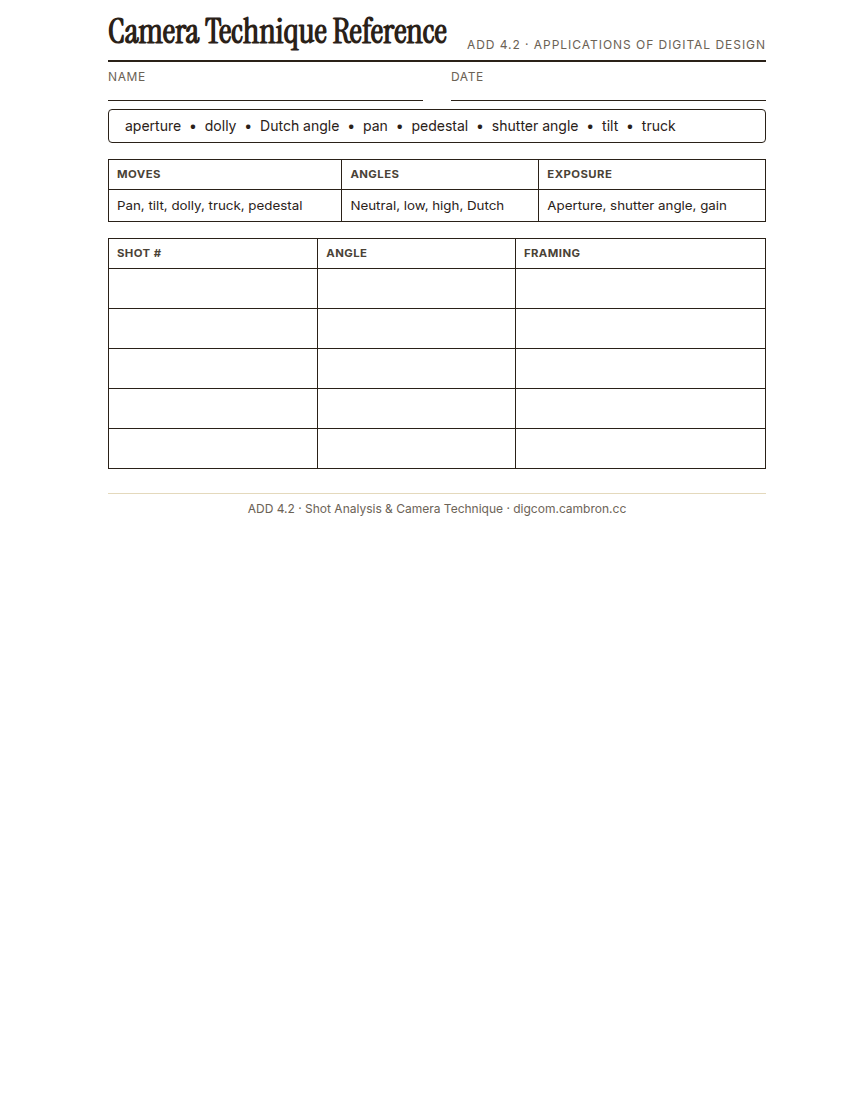
Complete the handout, three hole punch it, and keep it in your class binder.
⬇ Download Worksheet (PDF)“Every camera move has a name and a reason: a dolly-in draws the audience closer to a moment that matters. A high angle makes a subject look small or vulnerable. None of this is accidental in professional work. And it doesn’t need to be accidental in yours either.”
Walk through: camera moves (pan, tilt, dolly, truck, pedestal), camera angles (neutral, low, high, Dutch), framing (ECU through extreme long shot), and the basics of exposure (aperture, shutter angle, gain).
Scaffolded questions. Cold-call through all three:
Recall: “What’s the difference between a pan and a truck?”
Analysis: “Why would a director choose a low angle to shoot a powerful character?”
Synthesis/Extension: “If you wanted to make an ordinary moment feel tense using only camera technique, no dialogue, no music, what would you do?”
Guided Practice | Analyze & Replicate (~23 min)
- Choose a clip and break down at least 5 distinct camera setups, labeling each by angle and framing.
- With a partner, discuss what each setup’s technique choice contributes to the shot.
- Using your own camera, replicate 3 different setups: vary the angle, framing, or move across all three so they’re clearly distinct.
- Check your exposure on each setup before recording.
Cold call check: you shoot the exact same conversation from a high angle vs. a low angle. What changes about how the audience feels toward each character?
GMetrix/BrainBuffet (~30 min)
Continue Module 3: today’s sections extend directly into camera technique and pacing.
Exit Ticket / Wrap-Up (~5 min)
🗂 Organize: Put your Camera Technique reference sheet in your binder. Save your shot-analysis breakdown in the Project Files folder of your Digital Design project folder on Google Drive. Save your 3 practice camera setups in the Source Footage folder of your Digital Design project folder on Google Drive.
📤 Exit Ticket: Glow & Grow. On a scrap of paper, write about today’s work in at least 3 sentences (aim for 5): describe one Glow (something that went well) and one Grow (one thing you’d do differently or improve next time), explaining each with real detail, not just a phrase.
Stuck on how to start? Try: “My Glow today was ___, because ___. My Grow is ___. Next time I’ll try ___.”