5.3 | Type on a Path & Special Type
Key Terms
- Point Type
- A single line of text anchored to one point, that keeps growing horizontally as you type unless you add a manual line break. Good for headlines and short labels.
- Area Type
- Text flowed inside a closed shape (a rectangle, or any custom path), automatically wrapping to the next line when it reaches the shape’s edge. Good for paragraphs and body copy.
- Type on a Path
- Text that flows along the contour of an open or closed path instead of a straight line or a shape.
- Glyph
- A specific visual representation of a character. The same letter can have multiple glyph variants (alternates, ligatures, swashes) within a single font.
- Placeholder Text (“Greeked” Text / Lorem Ipsum)
- Dummy text used to preview a layout’s typography and spacing before final copy has been written.
So far you’ve typed text without thinking much about what kind of type object it actually is. Today you’ll learn the 3 fundamental types. And use the most special one, Type on a Path, to build a circular badge design.
Direct Instruction | Live Demo (~10 min)
“Watch what the same word does depending on which type tool I click with first.”
The teacher live-demos the same word three ways:
- Point type: typed with the regular Type tool, growing endlessly to one side.
- Area type: typed inside a rectangle, wrapping automatically.
- Type on a path: typed along a circle, following its contour.
Recall: What’s the key behavioral difference between point type and area type? Analysis: Why would a paragraph of body copy always use area type instead of point type? Synthesis: If you needed text to curve around the top of a badge logo, why wouldn’t manually rotating each letter by hand work as well as Type on a Path?
Guided Practice | Build a Badge (~23 min)
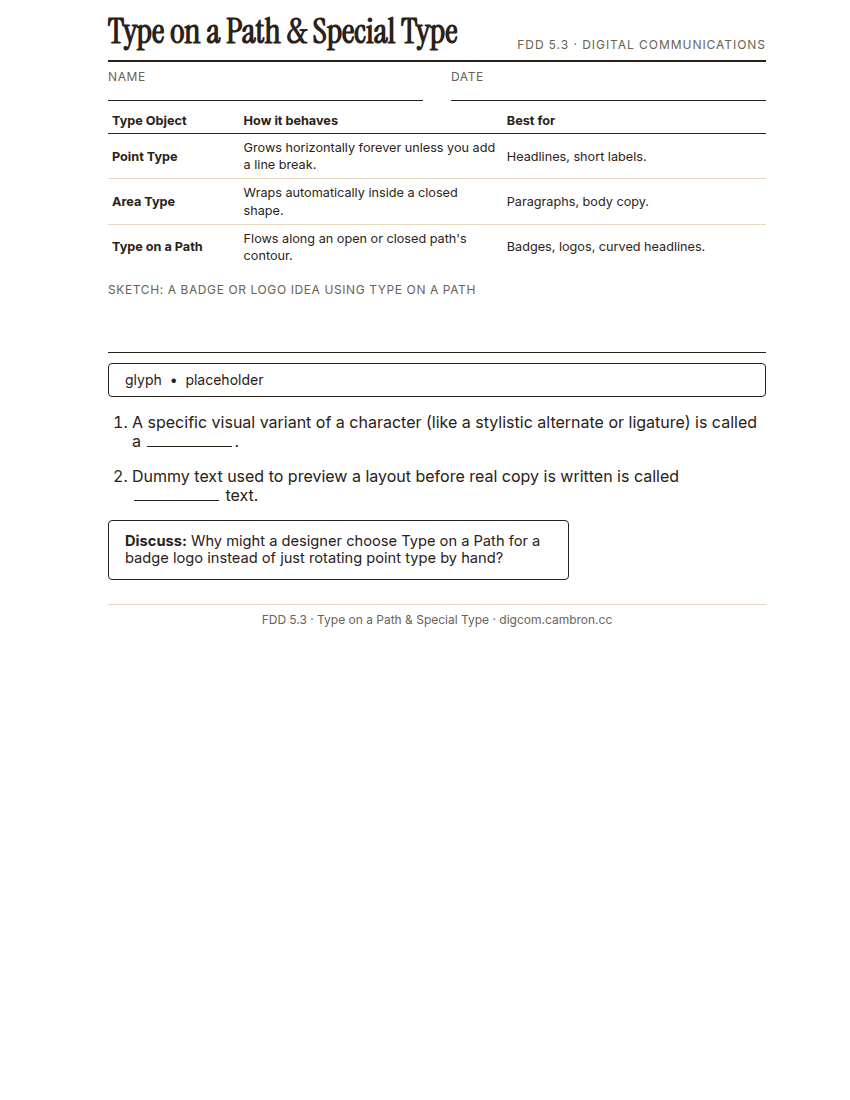
Complete the handout, three hole punch it, and keep it in your class binder.
⬇ Download Worksheet (PDF)- Sketch (~5 min): on the reference sheet, sketch a quick idea for a circular badge (think: a stamp, a logo seal, or a coffee shop badge).
- Build (~13 min): draw a circle, use the Type on a Path tool to add your top text, and a second circle (or the same path) for bottom text if your design needs it.
- Adjust (~5 min): use the path’s start/end brackets to fine-tune where the text begins, and flip the orientation if it’s reading upside-down.
If your text is flowing to the inside of the circle instead of around the outside, drag the small vertical bracket at the path’s start point across to the other side of the path.
Exit Ticket / Wrap-Up (~5 min)
Screenshot your finished badge design.
Why did Type on a Path make more sense than rotating individual letters by hand for this badge?
🗂 Organize: Save your finished badge design file in the Project Files folder of your Digital Design project folder on Google Drive. Save your screenshot receipt in the Photos folder of your Digital Design project folder on Google Drive.
📤 Exit Ticket: Emoji Meter. On a scrap of paper, draw ONE face that matches how confident you feel about today’s skill: 🙁 (not yet), 😐 (getting there), or 🙂 (got it). Then explain why in at least 3 sentences (aim for 5), connecting your answer to something specific from today, not just a general feeling.
Stuck on how to start? Try: “I drew ___ because ___. Specifically, when I tried to ___, I ___. Next time I want to ___.”