11.4 | Building a Graphics Package
Key Terms
- Composition (Comp)
- The container or workspace where every layer, effect, and animation in an After Effects project comes together, the equivalent of a Premiere sequence.
- Layer
- A single element (text, image, shape, video) inside a composition that can be animated and manipulated independently of every other layer.
- Anchor Point
- The fixed point a layer rotates and scales around. Move it off-center and rotation swings around that new point instead of the layer’s middle.
- Precomposing
- Grouping several layers into a single new composition nested inside the original, so they can be animated, scaled, or effected together as one unit.
- Render Queue
- After Effects’ export system. Add a composition to the queue, choose render/output settings, then render, similar to Premiere’s Media Encoder but built into the same application.
Three separate pieces don’t make a package until they’re assembled with consistent timing and actually rendered out as one file.
Direct Instruction (~10 min)
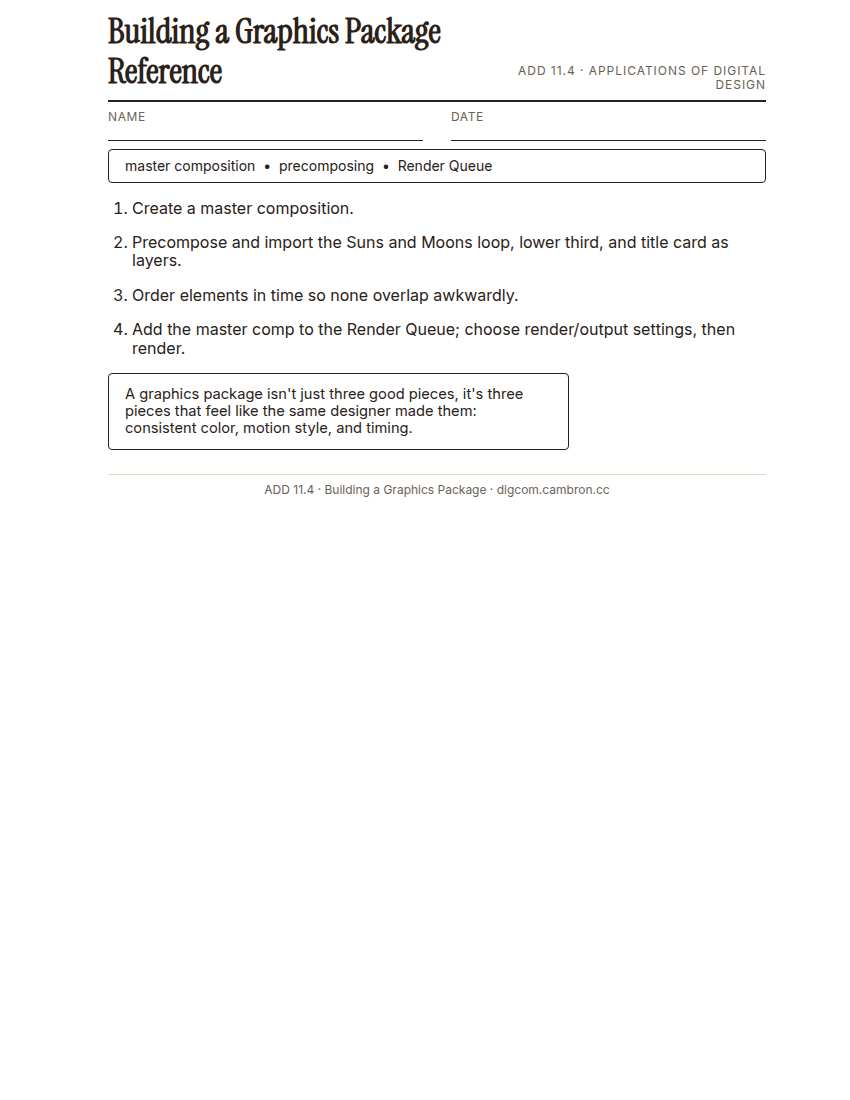
Complete the handout, three hole punch it, and keep it in your class binder.
⬇ Download Worksheet (PDF)Build a master composition and precompose each of your existing elements (the Suns and Moons loop, the lower third, the title card) into it, then order them in time so they don’t awkwardly overlap. When it’s ready, add the master comp to the Render Queue: choose your render and output module settings, then render, After Effects’ equivalent of Premiere’s Media Encoder.
“A graphics package isn’t just three good pieces, it’s three pieces that feel like they came from the same designer. Consistent color, consistent motion style, consistent timing.”
Scaffolded questions. Cold-call through all three:
Recall: “What does precomposing let you do with multiple existing elements?”
Analysis: “Why might two graphics elements that look great individually feel disconnected when played back to back?”
Synthesis/Extension: “You’re 10 seconds over your package’s target runtime. Which element would you trim first, and why?”
Guided Practice (~23 min)
- Create a master composition.
- Precompose and import your Suns and Moons loop (11.2), lower third, and title card (11.3) as layers.
- Order them in time so each element plays cleanly without overlapping the next.
- Small-group review: flag any element in a classmate’s timing that overlaps awkwardly.
What changed about each individual element once it had to work alongside the others?
Studio/Project Work Time (~30 min)
Refine your master comp’s timing based on today’s feedback, then add it to the Render Queue and export your finished graphics package.
Exit Ticket / Wrap-Up (~5 min)
Save your file and submit your rendered export.
🗂 Organize: Put your guided notes in your binder. Save your rendered graphics package in the Exports folder of your Digital Design project folder on Google Drive.
📤 Exit Ticket: 3-2-1. On a scrap of paper, write in complete sentences, not a list of fragments: 3 sentences describing things you did or made today, 2 sentences naming techniques or tools you used and how, and 1 sentence asking a question you still have.
Stuck on how to start? Try: “Today I ___. I also ___. I used ___ to ___. I also used ___ to ___. I’m still wondering ___.”