9.2 | Auto Reframe & Multi-Platform Versions
Key Terms
- Auto Reframe
- A Premiere feature that uses motion tracking to automatically reposition a sequence’s frame when converting to a different aspect ratio, keeping the detected subject centered.
- Target Aspect Ratio
- The frame shape a version of a video is being delivered for. 16:9 (widescreen), 9:16 (vertical/Stories/Reels), 1:1 (square).
- Motion Tracking
- Software that follows a specific point or subject’s movement across frames, the technology underneath Auto Reframe and many visual effects.
- Clip Nesting
- Placing an entire sequence inside another sequence as if it were a single clip, so it can be reframed, retimed, or effected as one unit without altering the original edit.
The same video rarely gets delivered just once. A client wants a 16:9 cut for YouTube, a 9:16 cut for Stories, and a 1:1 cut for a feed post, and reframing each one by hand would take all day.
Direct Instruction (~10 min)
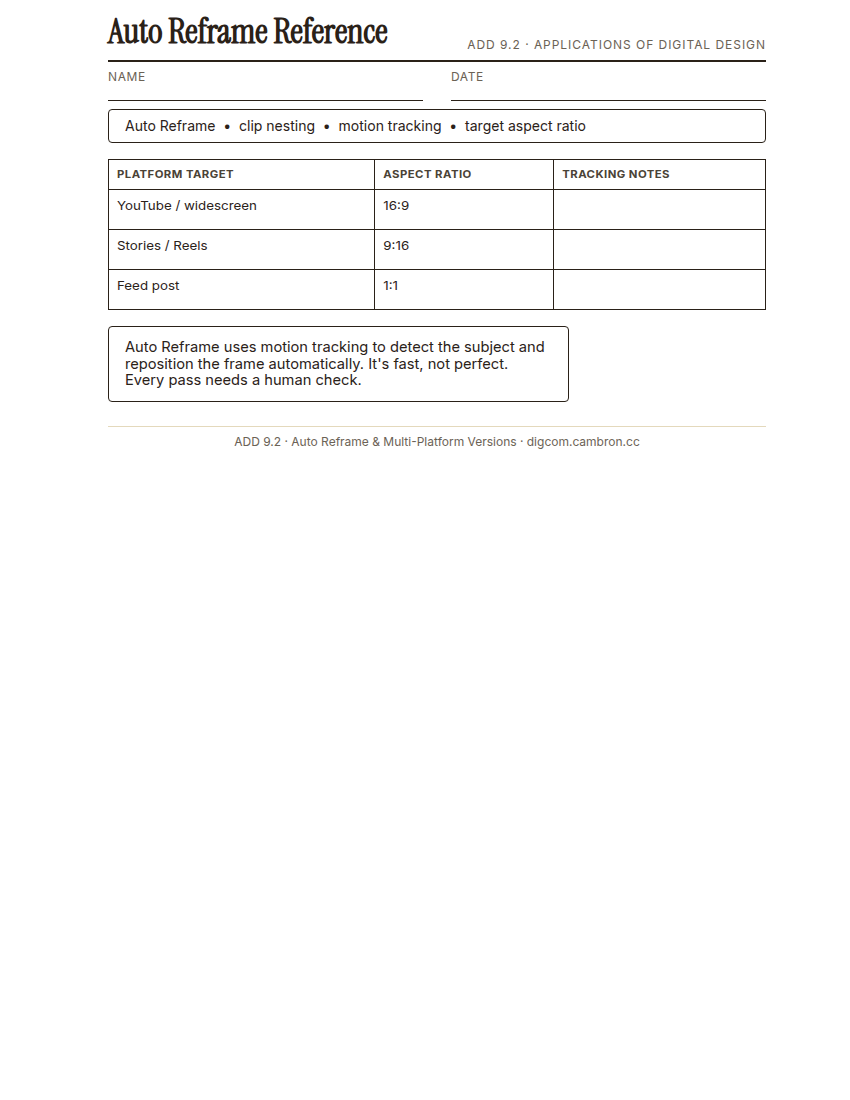
Complete the handout, three hole punch it, and keep it in your class binder.
⬇ Download Worksheet (PDF)Auto Reframe uses motion tracking to detect a sequence’s subject and automatically reposition the frame as you convert to a new target aspect ratio: 16:9 (widescreen), 9:16 (vertical), or 1:1 (square). It’s fast, but not perfect, tracking can lose the subject during a quick cut or a crowded shot, and every Auto Reframe pass needs a human check afterward. Clip nesting (treating a whole sequence as one clip) makes reframing a multi-shot sequence at once possible instead of reframing every single clip separately.
“Auto Reframe gets you 90 percent of the way there in a fraction of the time. The last 10 percent, catching where it guessed wrong, is still an editor’s job.”
Scaffolded questions. Cold-call through all three:
Recall: “What does Auto Reframe actually track to decide how to reposition the frame?”
Analysis: “Why might Auto Reframe struggle with a shot that has two people moving in opposite directions?”
Synthesis/Extension: “A client wants five different platform versions of the same video. What’s your workflow, and where do you expect to need to step in manually?”
Guided Practice (~23 min)
- Open the provided 16:9 sequence and nest it as a single clip.
- Run Auto Reframe to produce a 9:16 version. Check every cut for tracking errors.
- Repeat for 1:1. Compare which aspect ratio needed more manual correction.
- Fix any tracking errors by hand using the Transform effect from 8.3.
- Small-group report-out: which target aspect ratio was hardest, and why?
Where did Auto Reframe’s motion tracking get it wrong, and what did you have to catch by hand?
GMetrix/BrainBuffet (~30 min)
Continue this term’s Premiere Pro GMetrix module.
Exit Ticket / Wrap-Up (~5 min)
🗂 Organize: Put your guided notes in your binder. Save your three platform versions in the Exports folder of your Digital Design project folder on Google Drive.
📤 Exit Ticket: Glow & Grow. On a scrap of paper, write about today’s work in at least 3 sentences (aim for 5): describe one Glow (something that went well) and one Grow (one thing you’d do differently or improve next time), explaining each with real detail, not just a phrase.
Stuck on how to start? Try: “My Glow today was ___, because ___. My Grow is ___. Next time I’ll try ___.”