11.1 | Page Layout Fundamentals
Key Terms
- Margin
- The blank space between the edge of a page and the content. Keeps text and images from crowding the trim edge or a binding.
- Gutter
- The space between columns of text or between two facing pages in a spread. Wide enough that text doesn’t feel like it’s touching or falling into the binding.
- Column
- A vertical division of a page used to organize text and images into readable widths. Multi-column layouts (for example, a 3-column grid) are standard in publications like yearbooks and magazines.
- Hierarchy
- The intentional ranking of content by importance, headline, subhead, body copy, caption, communicated through size, weight, and placement so a reader knows what to look at first.
- Alignment
- How elements line up relative to each other and to the page (left, right, center, justified). Consistent alignment is one of the fastest ways to make a layout feel organized.
- White Space (Negative Space)
- Intentionally empty area in a layout, not “wasted” space, but a tool that gives content room to breathe and directs the eye toward what matters.
- Spread
- Two facing pages (for example, the left and right pages of an open magazine or yearbook) designed to be viewed together as a single visual unit.
- Folio
- The page number, and often a running header/footer (section title, publication name), printed on each page of a multi-page document.
- Masthead
- The design treatment of a publication’s title/logo, typically on its cover or an opening page.
- Pull Quote
- A short, notable quotation or phrase pulled from the body text and enlarged/set apart on the page as a graphic and reading-pace element.
- Caption
- A short line of text identifying or explaining a photo or graphic, typically set smaller than body copy and positioned directly beside or below the image it describes.
“A page is never really blank. Even empty space is a design decision.”
Every publication you’ve ever read, a magazine, a yearbook, a website, is built on an invisible structure that decides where things go before a single word is written. Today you’ll learn to see that structure, then build one of your own.
Bell Ringer (~10 min)
Sketch two quick thumbnails of the exact same content (a headline, one image, three lines of text): one where everything is crowded together, and one where it has clear margins and spacing. Don’t discuss yet. Just sketch both.
Direct Instruction (~10 min)
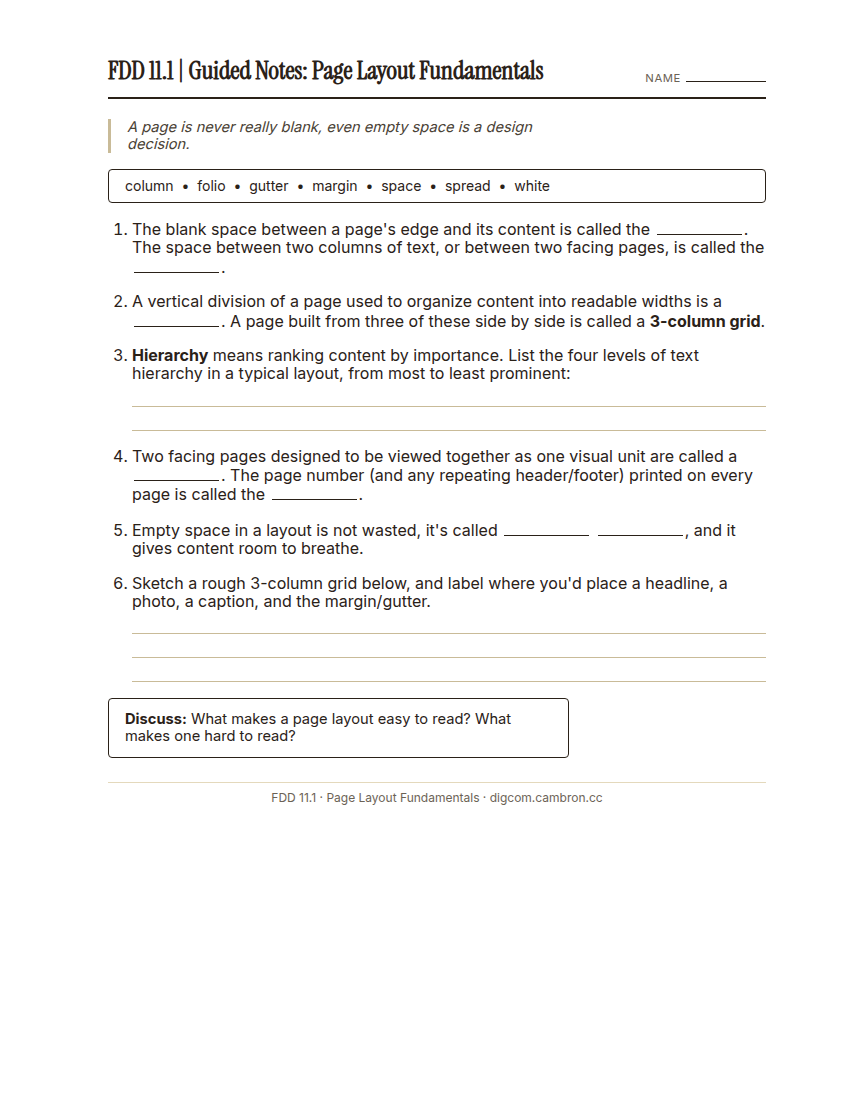
Complete the handout, three hole punch it, and keep it in your class binder.
⬇ Download Worksheet (PDF)Look at a real magazine or yearbook page with your teacher. Together, identify:
- The margin around the outside edge, and the gutter between columns or facing pages.
- The columns the text is organized into.
- The hierarchy: what’s biggest/boldest (headline), what’s next (subhead), what’s smallest (caption).
- The alignment: is everything lined up left, centered, or justified?
What makes a page layout easy to read? What makes one hard to read?
Guided Practice (~23 min)
Think-Pair-Share. With a partner, annotate a provided layout: circle and label its margin, gutter, columns, and every hierarchy level you can find. Then we’ll share out as a class.
Studio/Project Work Time (~30 min)
Now build your own. In Illustrator:
- Set up a new Letter-size document (reuse the settings from Unit 2’s Documents & Artboards lesson).
- Use View > Guides > Make Guides (or drag guides from the rulers) to lay out a 3-column grid with a consistent margin around the outside and a gutter between columns.
- Place placeholder rectangles and placeholder text (“Lorem ipsum” or simple filler text) into your grid, showing at least three hierarchy levels (a headline, body text, and a caption).
What was the hardest part about making your layout feel organized rather than crowded?
Exit Ticket / Wrap-Up (~5 min)
Save your file, then take a screenshot showing your grid guides and placeholder frames.
🗂 Organize: Put your guided notes in your binder. Save a screenshot of your grid layout with guides and placeholder frames visible in the Photos folder of your Digital Design project folder on Google Drive.
📤 Exit Ticket: Stoplight. In the discussion board below, let us know how you’re doing: G (green: I’ve got this, ready to move on), Y (yellow: I mostly get it, still have a question), or R (red: I’m stuck, I need help). Then explain your rating in at least 3 sentences (aim for 5): what specifically about today’s skill makes you feel that way, and, if you’re yellow or red, what your actual question is.
Stuck on how to start? Try: “I picked ___ because ___. Specifically, when I tried to ___, I ___. One thing that would help is ___.”