6.1 | Effect Presets & Adjustment Layers
Key Terms
- Effect Preset
- A saved combination of one or more effects with specific settings, applied in one click and reusable across clips or projects.
- Adjustment Layer
- A transparent layer that applies its effects to everything beneath it in the stack, without altering the original clips directly.
- Nesting
- Placing an entire sequence inside another sequence as a single clip. Useful for applying one effect to a whole group of edited clips at once.
- Copy/Paste Attributes
- Copying a clip’s effects and settings, then pasting them onto other clips. A fast way to apply the same look to many clips without rebuilding it each time.
Applying the same effect to 20 clips one at a time is slow and inconsistent. Today’s tools, presets, adjustment layers, and copy/paste attributes, are how editors avoid doing that.
Direct Instruction (~10 min)
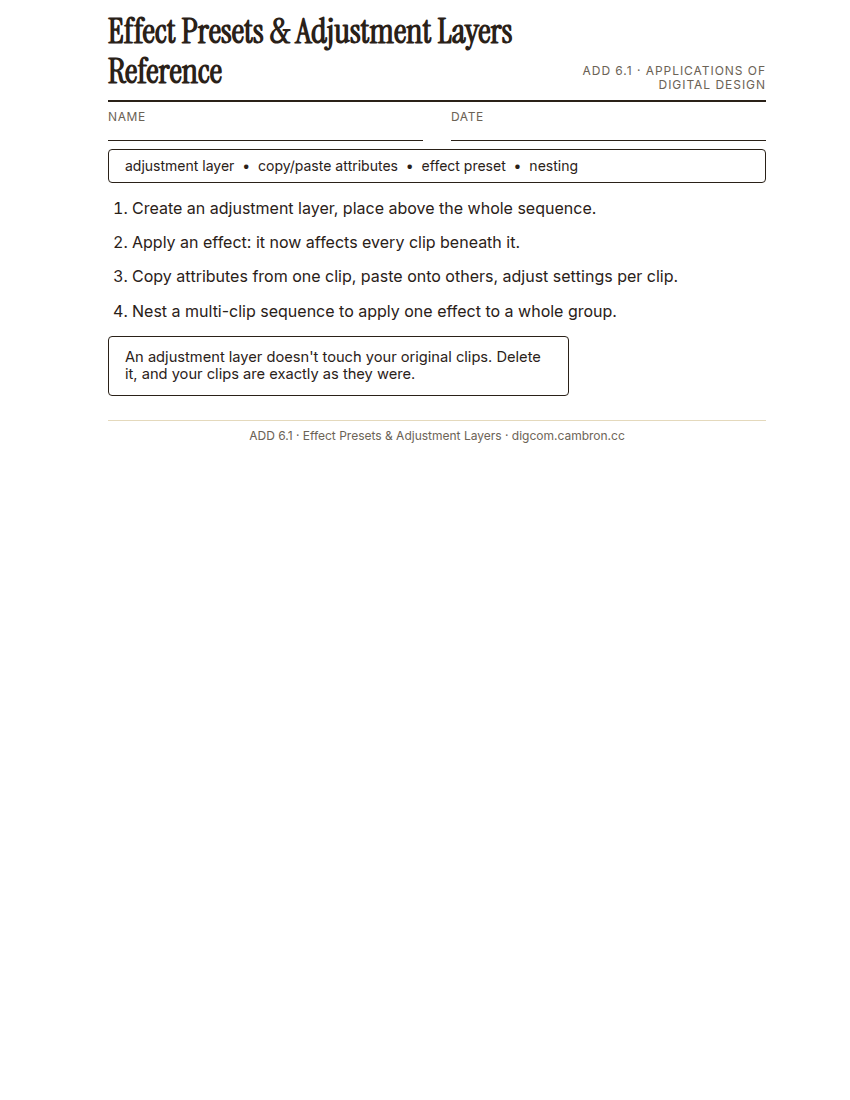
Complete the handout, three hole punch it, and keep it in your class binder.
⬇ Download Worksheet (PDF)“An adjustment layer doesn’t touch your original clips at all. It sits above everything in the stack and applies its effect to whatever’s beneath it. Delete the adjustment layer, and your clips are exactly as they were.”
Walk through: applying an effect preset, creating and using an adjustment layer, nesting a sequence for group effects, and copy/paste attributes to move settings between clips fast.
Scaffolded questions. Cold-call through all three:
Recall: “What’s the difference between applying an effect directly to a clip and using an adjustment layer?”
Analysis: “Why would copy/paste attributes save more time on a 20-clip sequence than a 3-clip one?”
Synthesis/Extension: “If you wanted to apply one effect to only 3 of your 10 clips, would an adjustment layer still be the right tool? Why or why not?”
Guided Practice | Apply & Reuse Effects (~23 min)
- Create an adjustment layer and place it above your entire sequence.
- Apply an effect to the adjustment layer and confirm it affects every clip beneath it.
- Remove the adjustment layer, then apply that same effect directly to one individual clip instead.
- Copy that clip’s attributes and paste them onto 2 other clips, adjusting settings slightly on each.
- Partner comparison: compare your adjustment-layer result to your copy/paste result. What’s different about how each one behaves?
Cold call check: you need to remove an effect from your entire sequence at once. Which approach from today makes that a one-step fix?
GMetrix/BrainBuffet (~30 min)
Finish Module 3, then start Module 4: Basketball Showreel: speed ramping and animated lower thirds directly preview this unit’s remaining lessons.
Exit Ticket / Wrap-Up (~5 min)
🗂 Organize: Save your effect-preset practice sequence in the Project Files folder of your Digital Design project folder on Google Drive.
📤 Exit Ticket: Stoplight. In the discussion board below, let us know how you’re doing: G (green: I’ve got this, ready to move on), Y (yellow: I mostly get it, still have a question), or R (red: I’m stuck, I need help). Then explain your rating in at least 3 sentences (aim for 5): what specifically about today’s skill makes you feel that way, and, if you’re yellow or red, what your actual question is.
Stuck on how to start? Try: “I picked ___ because ___. Specifically, when I tried to ___, I ___. One thing that would help is ___.”