2.4 | Design Aids: Rulers, Guides, Grids & Views
Key Terms
- Outline (view mode)
- A view mode that displays only the wireframe of every path on the artboard. No fills or strokes. Useful for finding and selecting an object hidden behind another.
- Pixel Preview
- A view mode that previews how vector artwork will look once rasterized to a screen’s pixel grid. Useful when a design is headed for web or screen output.
- Presentation Mode
- A fullscreen, no-interface slideshow of a document’s artboards in order. Useful for presenting work to a client without any Illustrator interface visible.
You can build a document (2.3). Now let’s make sure everything inside it lines up precisely.
Direct Instruction (~10 min)
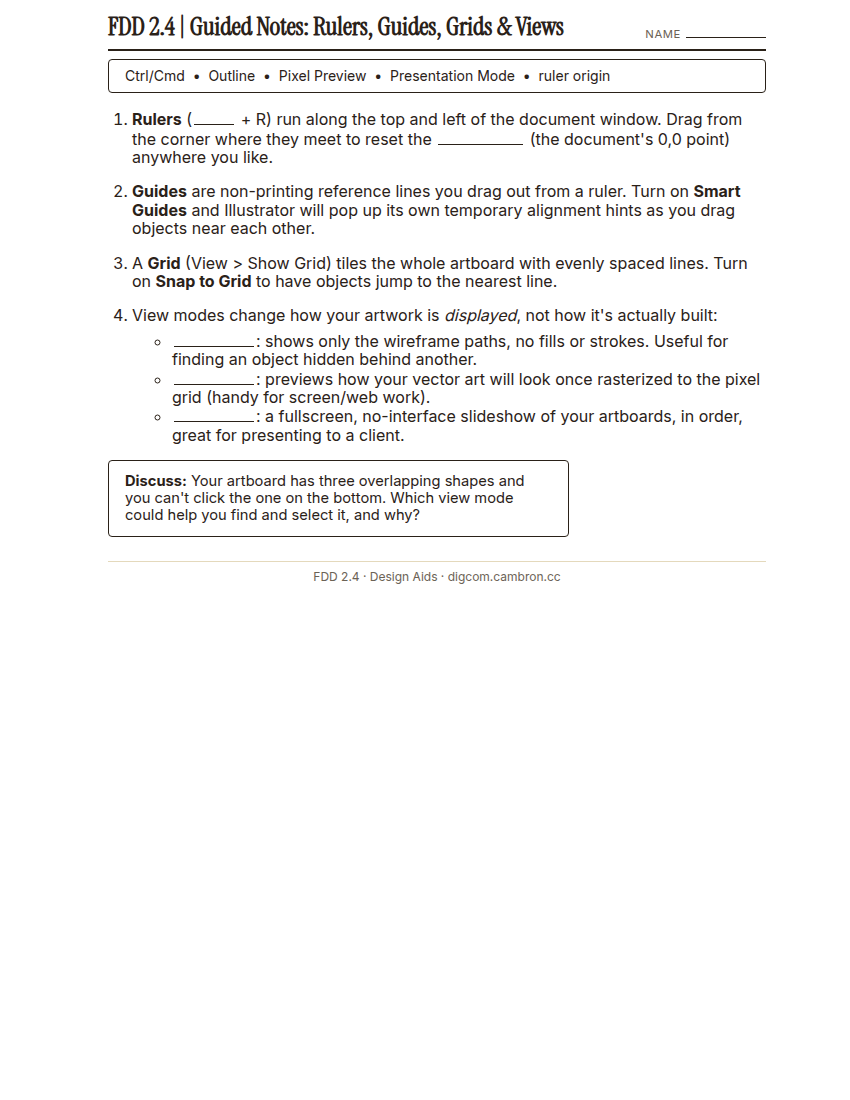
Complete the handout, three hole punch it, and keep it in your class binder.
⬇ Download Worksheet (PDF)Turn on View > Rulers (Cmd/Ctrl+R) and drag a guide out from the top ruler. Turn on Smart Guides (Cmd/Ctrl+U) and drag a shape near another. Notice the temporary alignment hints Illustrator pops up on its own. Then toggle View > Show Grid and Snap to Grid.
Finally, cycle through the three view modes together: Preview (normal), Outline (wireframe paths only. Great for finding something hidden behind another object), and Pixel Preview (shows how the art will rasterize on a screen). Briefly demo Presentation Mode as well.
“Watch what happens when I switch to Outline view. That shape I couldn’t click a second ago, because it was hiding behind another one? Now I can see and select it.”
Scaffolded questions. Cold-call through all three:
Recall: “What’s the difference between a guide and the grid?”
Analysis: “Why would Outline view help you find an object that Preview mode can’t?”
Synthesis/Extension: “If you were about to present your work to a client in the room, which view mode would you switch to right before showing them, and why?”
Reading & Discussion | The Four Basic Principles (~8 min)
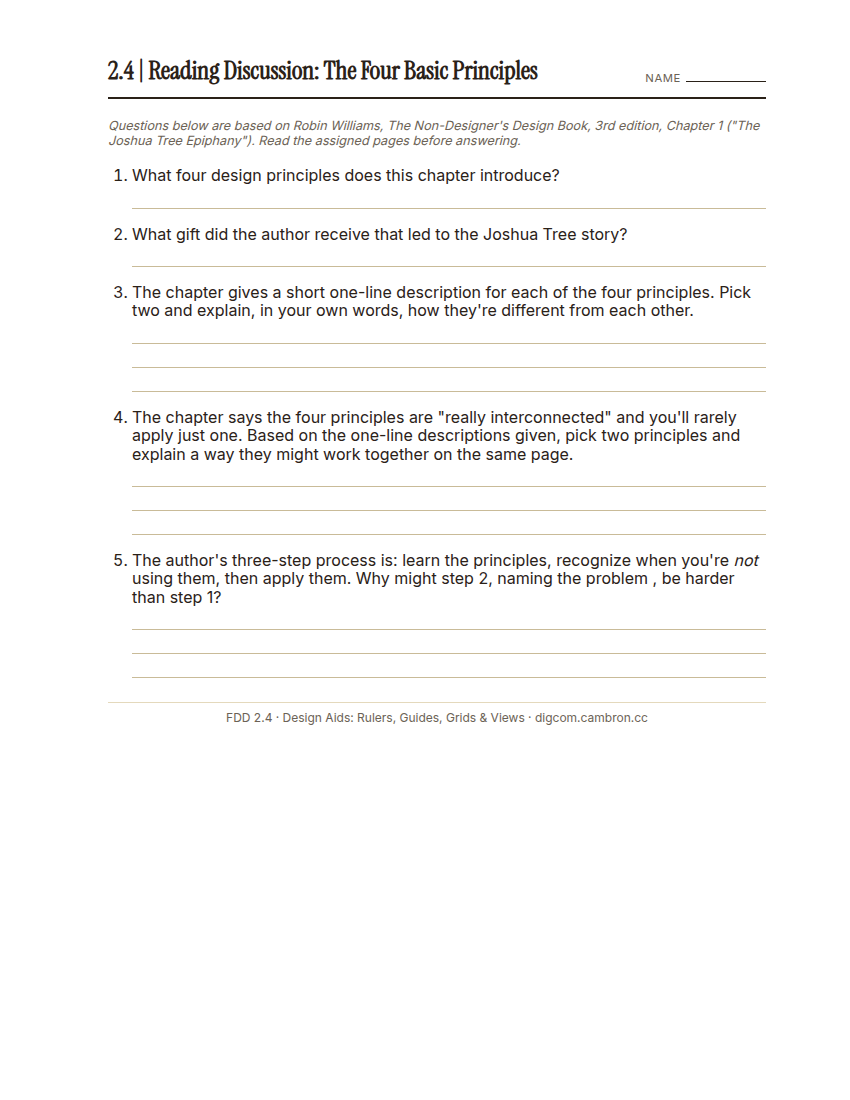
Complete the handout, three hole punch it, and keep it in your class binder.
⬇ Download Worksheet (PDF)In groups of 3-4: read the handout together (Ch. 1 of Robin Williams’ The Non-Designer’s Design Book), then discuss and record group answers to all 5 questions. One student per group records. Every student should be ready to share their group’s answer if cold-called.
“Before you touch a single guide, I want you to understand why alignment matters, not just the button to click. This chapter’s whole argument is that naming a principle is what gives you power over it.”
The reading explains why naming a design principle gives you power over it. Guided Practice immediately below has students apply one of those principles (Alignment) with Illustrator’s own tools.
Guided Practice | Fix-This-File (~23 min)
- Trade starter files with a partner. Each file has objects scattered with no alignment, at least one object hidden behind another, and no guides.
- Turn on rulers and Smart Guides, then drag out guides to establish a simple layout grid.
- Realign every object to your guides.
- Find the hidden object using Outline view, then switch back to Preview once you’ve selected and moved it into place.
- Screenshot your fixed file with guides visible, and write one sentence naming which view mode helped you find the hidden object.
- Explain to your partner which design aid solved which problem in their file.
Turn and Talk: which was faster for you today. Eyeballing alignment, or trusting Smart Guides? Why?
GMetrix/BrainBuffet (~22 min)
Get as far as you can into Module 1: Getting Started today. 8 minutes moved to Reading & Discussion above, so today’s strand block is shorter than usual. Whatever’s left carries into S2’s strand block, alongside that day’s module-completion checkpoint.
Exit Ticket / Wrap-Up (~5 min)
🗂 Organize: Put your guided notes and one sentence naming which view mode helped you find the hidden object in your binder. Save your fixed Fix-This-File screenshot in the Photos folder of your Digital Design project folder on Google Drive.
📤 Exit Ticket: 3-2-1. On a scrap of paper, write in complete sentences, not a list of fragments: 3 sentences describing things you did or made today, 2 sentences naming techniques or tools you used and how, and 1 sentence asking a question you still have.
Stuck on how to start? Try: “Today I ___. I also ___. I used ___ to ___. I also used ___ to ___. I’m still wondering ___.”