8.1 | Brushes & Pattern Making
Key Terms
- Brush Types
- Illustrator’s five brush categories. Calligraphic (mimics an angled pen nib), Scatter (scatters copies of an object along a path), Art (stretches a single object along the length of a path), Bristle (simulates a real paintbrush’s bristles), and Pattern (repeats a set of tiles along a path, with separate artwork for straight sides, outer corners, and inner corners).
- Generate Pattern
- A live pattern-making mode (Object > Pattern > Make) that previews your artwork tiled across the canvas as you build it, letting you adjust tile type, spacing, and overlap before saving the result as a swatch.
- Pattern Tile
- The single repeating unit of a pattern, defined by its bounding box, visible as a dashed rectangle while in Generate Pattern mode. Defines exactly where one repetition ends and the next begins.
A brush turns a boring path into a textured line without you drawing every bristle by hand. > and a pattern turns one small tile into wallpaper without you drawing it twice.
Unit 7 was about controlling how one object looks. Unit 8 is about multiplying that look across a whole surface. Brushed paths, repeating patterns, reusable symbols, traced artwork, and even AI-generated starting points. Building toward a sticker pack or merch pattern project.
[10 Mins] Bell Ringer / Hook
Look at these two identical squiggly lines. One is plain, one looks like it was painted with a loaded brush. What do you think changed between them?
“Nothing about the path itself changed. Only the brush applied to it. Same idea as yesterday’s… wait, today’s Appearance panel work, just for strokes made of texture instead of flat color.”
[10 Mins] Direct Instruction
“I Do”: the teacher live-demos, on a hand-drawn squiggle path:
- Opening the Brushes panel and applying an Art brush, then swapping it for a Scatter brush, comparing how each stretches vs. scatters along the path.
- Opening the Stroke options to show brush weight is still just stroke weight underneath.
- Switching to a small icon shape and choosing Object > Pattern > Make to enter Generate Pattern mode, live-tiling the icon across the canvas.
- Adjusting the pattern’s tile type, spacing, and overlap while the live preview updates, then clicking Done to save it as a swatch in the Swatches panel.
- Filling a large rectangle with the new pattern swatch to show the finished repeating result.
Check for Understanding Recall: “What panel do you open to apply a brush to a path?” Analysis: “Why did the Scatter brush look different from the Art brush on the exact same path?” Synthesis: “You’re designing wrapping paper. Would you reach for a brush, a pattern, or both? Explain your choice.”
[23 Mins] Guided Practice
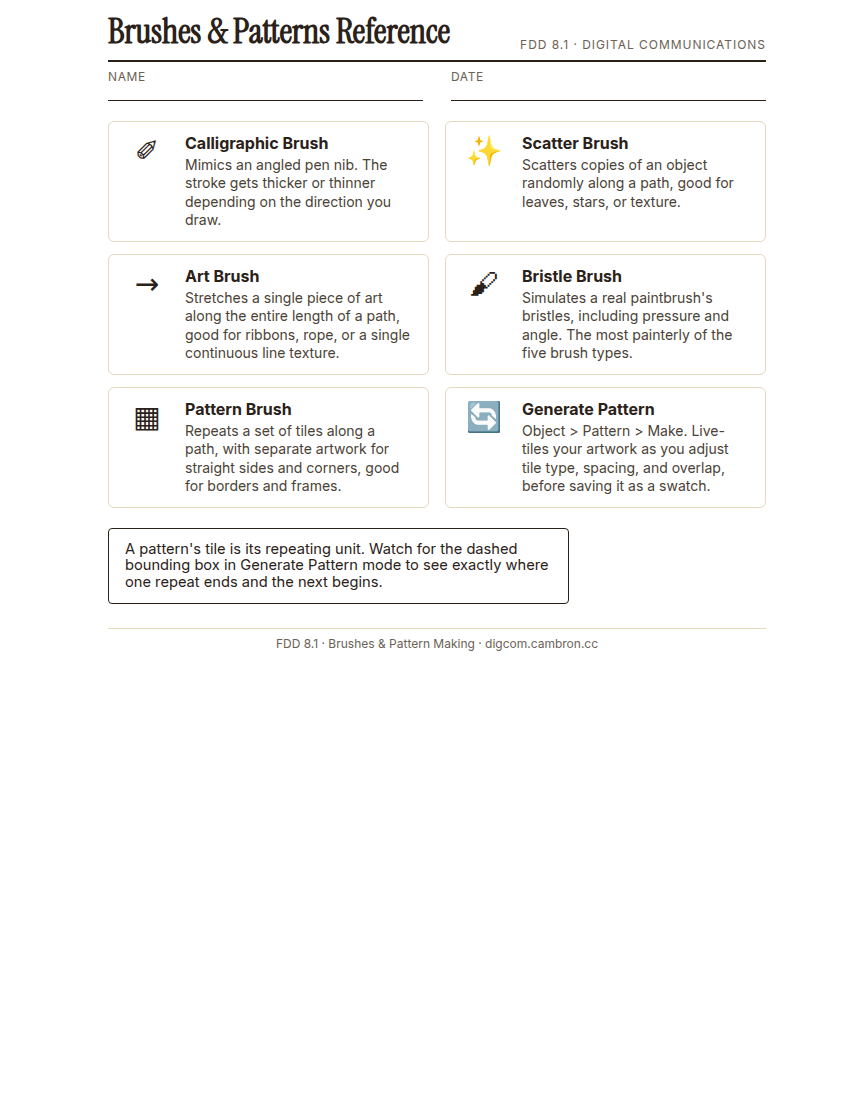
Complete the handout, three hole punch it, and keep it in your class binder.
⬇ Download Worksheet (PDF)Turn and Talk (2 min): compare with your partner which brush type you’re picking for your practice path and why.
- Draw a simple path (a line, wave, or loop) and apply a brush of your choice. Try at least 2 brush types before settling on one.
- Draw or reuse a small shape (an icon, star, or simple object) as your pattern’s building block.
- Use Object > Pattern > Make to build a repeating pattern from it, adjusting spacing until there’s no obvious hard seam where tiles meet.
- Save the pattern and apply it as a fill to a large shape to preview the full repeat.
[30 Mins] GMetrix / BrainBuffet Self-Guided Strand
Start GMetrix Module 5. Dobson Business Card. This module is where Image Trace lives (you’ll formally cover it in 8.3). For now, notice any brush or pattern work the module’s card design uses.
[5 Mins] Exit Ticket / Wrap-Up
Save your file as LastName_FirstName_8_1_BrushesPatterns.ai.
🗂 Organize: Save your brushed path (screenshot) in the Photos folder of your Digital Design project folder on Google Drive. Save your saved pattern swatch, applied to a filled shape in the Project Files folder of your Digital Design project folder on Google Drive.
📤 Exit Ticket: Stoplight. In the discussion board below, let us know how you’re doing: G (green: I’ve got this, ready to move on), Y (yellow: I mostly get it, still have a question), or R (red: I’m stuck, I need help). Then explain your rating in at least 3 sentences (aim for 5): what specifically about today’s skill makes you feel that way, and, if you’re yellow or red, what your actual question is.
Stuck on how to start? Try: “I picked ___ because ___. Specifically, when I tried to ___, I ___. One thing that would help is ___.”