8.3 | Image Trace
Key Terms
- Trace Preset
- A built-in starting configuration in the Image Trace panel (for example, Black and White Logo, High Fidelity Photo, 3 Colors, Line Art) that sets sensible defaults for threshold, color count, and path handling for a given kind of source image.
- Ignore White
- An Image Trace option that treats white areas of the source image as transparent instead of tracing them as opaque white shapes. Useful for a logo that needs to sit on a colored background.
- Threshold
- In Black and White tracing mode, the brightness value (0–255) that decides whether a given pixel becomes black or white in the traced result. Raising it converts more midtones to black.
- Expand
- The step that converts a live Image Trace result into actual, editable vector paths. Before expanding, the trace is just a live preview linked to the placed raster image, and its individual paths can’t be selected or edited.
Image Trace doesn’t just outline a picture. It rebuilds it as real, scalable vector paths. The raster image goes in flat and fixed-resolution; real, editable artwork comes out.
Back in Unit 2 you learned why a raster image gets blurry when it’s scaled up, and a vector never does. Today’s tool is the bridge between the two: hand a raster image to Image Trace, and it builds you an editable vector version.
[10 Mins] Bell Ringer / Hook
Here’s a logo, zoomed in twice: one version turns to mush, one stays perfectly crisp. Which one started as a raster photo, and which one went through Image Trace?
“Both started as the same raster file. One got traced into vectors first. Let’s build that ourselves.”
[10 Mins] Direct Instruction
“I Do”: using a scanned hand-drawn sketch, the teacher live-demos:
- Placing the raster image and opening the Image Trace panel (Window > Image Trace).
- Applying the Black and White Logo preset, adjusting Threshold up and down to show how it changes what becomes black vs. white.
- Switching presets to 3 Colors on a different, more colorful source image, and enabling Ignore White to drop the background.
- Adjusting Paths, Corners, and Noise sliders to clean up stray specks and smooth jagged edges.
- Clicking Expand and showing that the result is now real, selectable, editable vector paths. No longer a live trace linked to the original raster.
Check for Understanding Recall: “What button turns a live Image Trace result into actual editable paths?” Analysis: “Why did raising the Threshold slider turn more of the image black?” Synthesis: “A client hands you their old logo as a blurry JPEG with no source file. Walk through, in order, the steps you’d take to get them a clean, scalable vector version.”
[23 Mins] Guided Practice
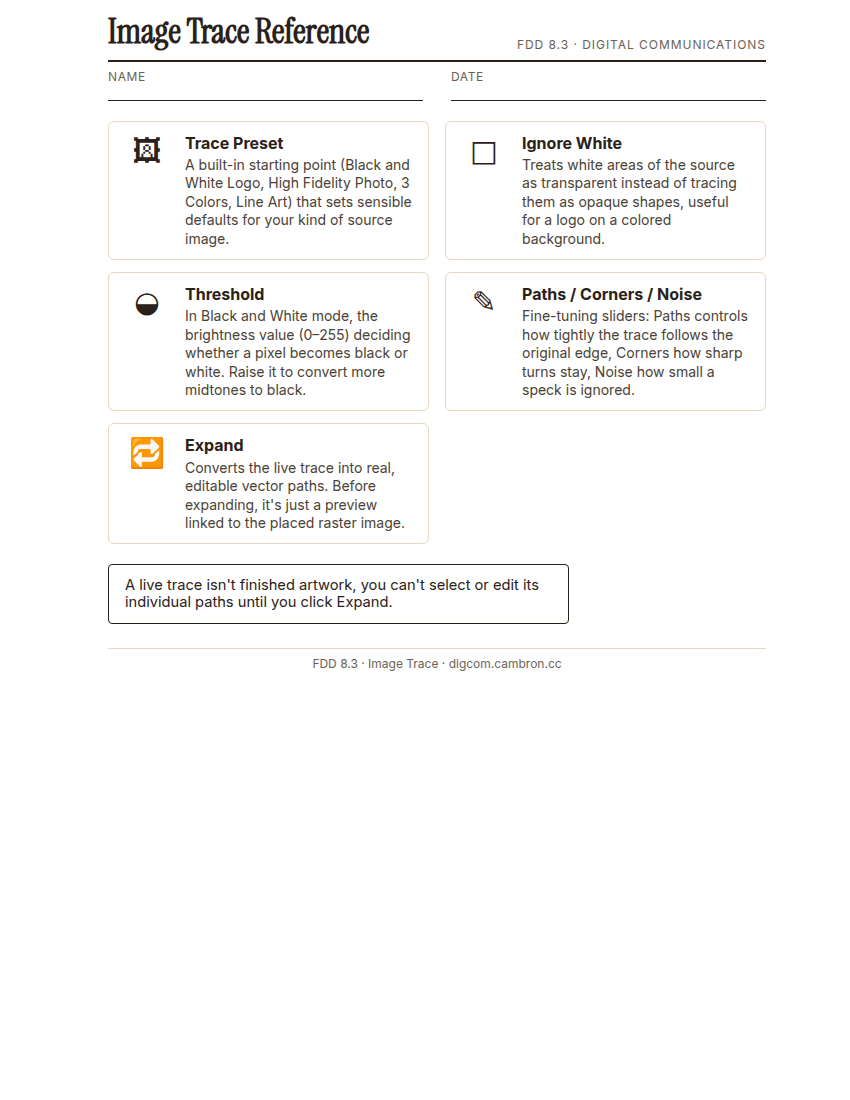
Complete the handout, three hole punch it, and keep it in your class binder.
⬇ Download Worksheet (PDF)Pair-share (2 min): compare with your partner which Threshold setting you’re choosing on the same source image, and why.
- Place your assigned source image and open Image Trace.
- Choose an appropriate preset for your image (Black and White Logo for high-contrast art, 3 Colors or higher for a photo).
- Adjust Threshold (if applicable) and the Paths/Corners/Noise sliders until the result is clean. No stray specks, no lost important detail.
- Expand the result into real vector paths and confirm you can now select individual paths.
[30 Mins] GMetrix / BrainBuffet Self-Guided Strand
Continue GMetrix Module 5. Dobson Business Card. Image Trace lives directly inside this module. Today’s classroom lesson is the strongest one-to-one match with the GMetrix strand of anything in Unit 8.
[5 Mins] Exit Ticket / Wrap-Up
Save your file as LastName_FirstName_8_3_ImageTrace.ai.
🗂 Organize: Put one sentence naming which preset you used and one setting you adjusted from its default in your binder. Save your traced-and-expanded file (before/after screenshots) in the Photos folder of your Digital Design project folder on Google Drive.
📤 Exit Ticket: Emoji Meter. On a scrap of paper, draw ONE face that matches how confident you feel about today’s skill: 🙁 (not yet), 😐 (getting there), or 🙂 (got it). Then explain why in at least 3 sentences (aim for 5), connecting your answer to something specific from today, not just a general feeling.
Stuck on how to start? Try: “I drew ___ because ___. Specifically, when I tried to ___, I ___. Next time I want to ___.”