7.4 | Opacity, Blending & Masks
Key Terms
- Transparency Panel
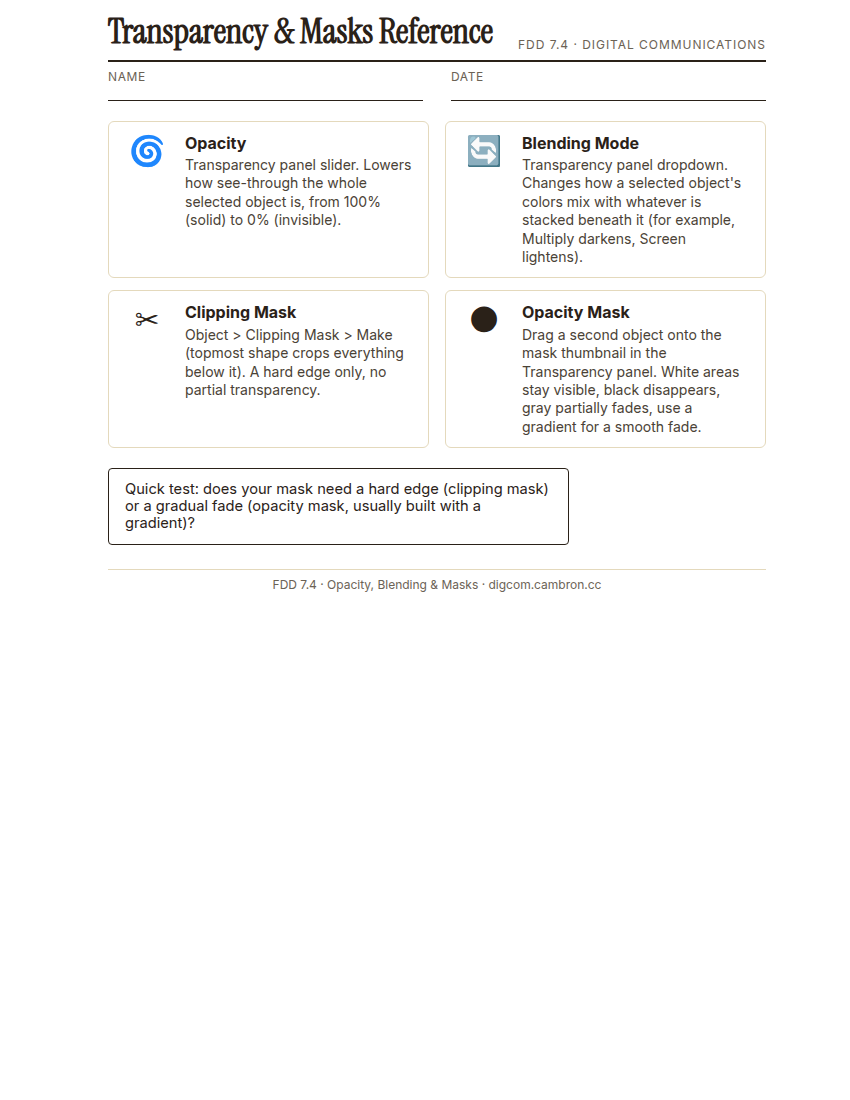
- The panel (Window > Transparency) that controls a selected object’s Opacity and Blending Mode, and is also where opacity masks are built by dragging a second object onto the mask thumbnail.
- Opacity Mask
- A mask built in the Transparency panel where the values of a masking object (how light or dark it is, not its color) control how transparent the artwork beneath it becomes. White areas of the mask stay fully visible, black areas disappear completely, and gray areas partially fade.
- Blending Mode
- A setting that changes how a selected object’s colors mix with whatever is stacked beneath it. For example, Multiply darkens by combining color values, while Screen lightens. The same concept as blending modes in Photoshop.
- Clipping Mask
- A mask made from a single vector shape (the topmost object in a selection) that crops everything beneath it to that shape’s outline. Unlike an opacity mask, a clipping mask only knows “inside the shape” or “outside”. No partial transparency.
A clipping mask asks “inside the shape, or outside?” Nothing in between. An opacity mask asks “how much?” and can answer with a gradient. Today you’ll use both, on purpose.
This closes out Unit 7’s look at appearance. You’ve organized objects (7.1), stacked their fills and strokes (7.2), and added effects (7.3). Today’s opacity, blending, and masking tools control how all of that interacts with whatever sits underneath it, which is exactly what you’ll need for this unit’s album cover / gig poster project.
[10 Mins] Bell Ringer / Hook
Here are two versions of the same photo faded into a background: one has a hard, clean edge; one fades out gradually at the top. Which technique, a shape or a gradient, do you think made each one?
“Both are masks. One’s a clipping mask, one’s an opacity mask, and knowing which tool makes which effect is today’s whole lesson.”
[10 Mins] Direct Instruction
“I Do”: using a photo placed behind a logo mark, the teacher live-demos:
- Selecting the logo mark and lowering its Opacity in the Transparency panel, then changing its Blending Mode from Normal to Multiply and then Screen, comparing the results live.
- Drawing a shape over the photo and using Object > Clipping Mask > Make to crop the photo to that shape’s hard edge. Then use Release to undo it.
- Rebuilding the same crop as an opacity mask instead: duplicating the shape, filling it with a black-to-white gradient, and dragging it onto the mask thumbnail in the Transparency panel. Point out that the edge now fades instead of cutting off sharply.
- Comparing the two results side by side and naming the difference: a clipping mask is a hard yes/no; an opacity mask can partially show through.
Check for Understanding Recall: “What two things does the Transparency panel let you control on a selected object?” Analysis: “Why did the gradient-based mask fade gradually, while the shape-based clipping mask cut off sharply?” Synthesis: “You want text to fade smoothly into a photo background, like it’s disappearing into fog. Which mask type would you use, and what would you fill it with?”
[23 Mins] Guided Practice
Complete the handout, three hole punch it, and keep it in your class binder.
⬇ Download Worksheet (PDF)- Place the provided background texture behind your saved 7.3 logo mark.
- Set your logo mark to a blending mode other than Normal and note how it changes against the texture.
- Build a clipping mask cropping the texture to a shape of your choice.
- Rebuild the same idea as an opacity mask using a black-to-white gradient, so the texture fades instead of cutting off.
- In the last 5 minutes, leave your screen up for a quick gallery walk. Look at one other group’s masks and note one thing you’d borrow for your own S7 project.
[30 Mins] GMetrix / BrainBuffet Self-Guided Strand
Finish GMetrix Module 4: Dobson Poster. Its clipping-mask and opacity work is a direct match for today’s lesson. This is the strongest one-to-one overlap between the classroom and the GMetrix strand all unit.
[5 Mins] Exit Ticket / Wrap-Up
Save your file as LastName_FirstName_7_4_Masks.ai. You now have all four Unit 7 tools (layers, appearance, effects, and masks) ready for S7.
🗂 Organize: Put one sentence naming which object uses a clipping mask and which uses an opacity mask in your binder. Save your composition (screenshot including the Transparency and Layers panels) in the Photos folder of your Digital Design project folder on Google Drive.
📤 Exit Ticket: 3-2-1. On a scrap of paper, write in complete sentences, not a list of fragments: 3 sentences describing things you did or made today, 2 sentences naming techniques or tools you used and how, and 1 sentence asking a question you still have.
Stuck on how to start? Try: “Today I ___. I also ___. I used ___ to ___. I also used ___ to ___. I’m still wondering ___.”