5.4 | Text Flow & Converting to Outlines
Key Terms
- Threading Text
- Linking two or more type areas so text flows continuously from one into the next.
- Wrapping Text
- Forcing type to flow around the contour of another object (like an image), instead of running behind or through it.
- Overflow Text
- Text that doesn’t fit inside its type area. Flagged by a small red plus (+) icon at the area’s bottom-right corner.
- Character Styles
- A saved set of character-level formatting (font, size, kerning, and so on) that can be applied to a range of selected text, and updated everywhere it’s used at once.
- Paragraph Styles
- A saved set of paragraph-level formatting (alignment, indents, space before/after, plus a nested character style) applied to entire paragraphs at once.
- Converting Text to Outlines
- Turning live, editable type into standard vector paths. Locks in the exact letterforms, so the file displays correctly on any computer even without the font installed, but removes the ability to edit it as text afterward.
Last lesson before S5. Today closes two loops: keeping longer text under control across multiple shapes, and locking in finished type so it displays correctly no matter whose computer opens the file.
Direct Instruction | Live Demo (~10 min)
“See that little red plus sign? That’s Illustrator telling you there’s more text than fits. > and threading is how you tell it where the rest should go.”
The teacher live-demos:
- Threading: linking an overflowing text area to a second shape.
- Wrapping: making a paragraph flow around a placed image instead of behind it.
- Converting to outlines: turning a finished headline into vector paths.
Recall: What does the red plus icon mean? Analysis: Why would you wrap text around an image instead of just leaving a manual gap by adjusting line breaks? Synthesis: Why is converting text to outlines a one-way decision you should make last, only once the wording is completely final?
Guided Practice | Fix, Wrap, Outline (~23 min)
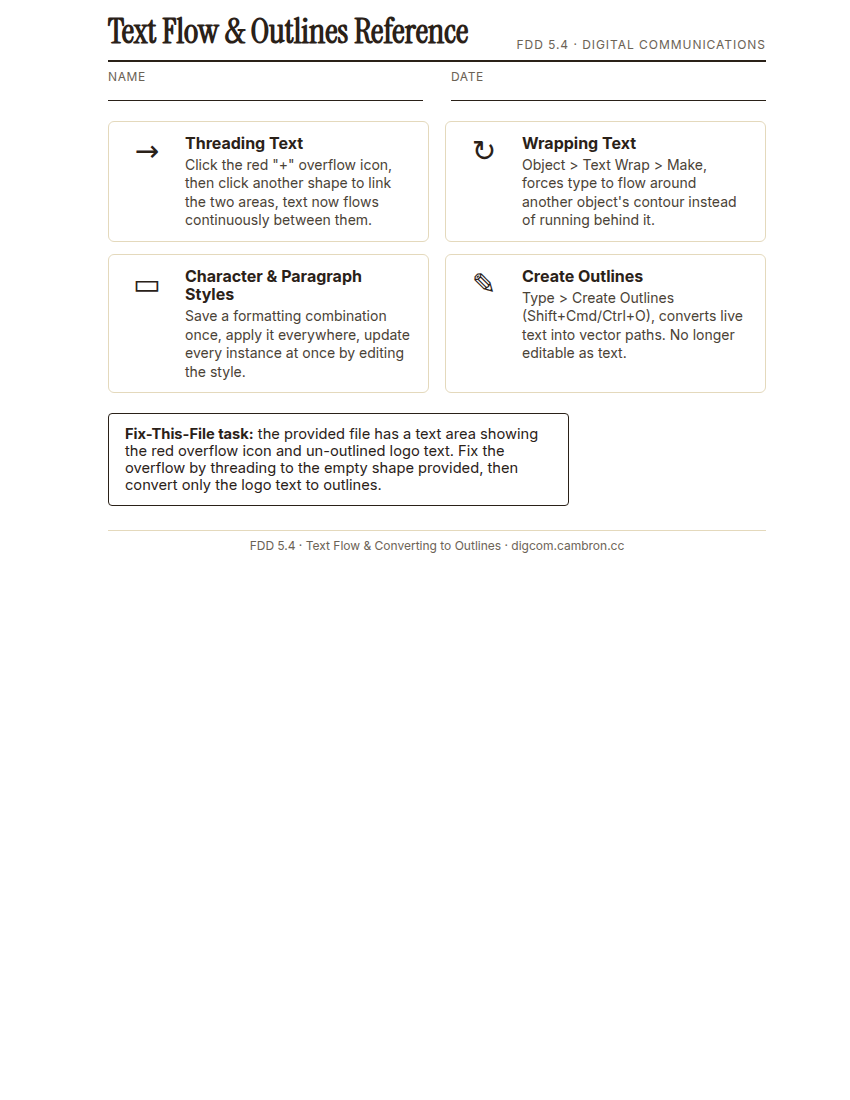
Complete the handout, three hole punch it, and keep it in your class binder.
⬇ Download Worksheet (PDF)- Thread (~8 min): open the provided file. Click its overflow icon, then click the empty linked shape to thread the remaining text into it.
- Wrap (~8 min): place the provided image into your text, then apply Text Wrap so the paragraph flows around it instead of behind it.
- Outline (~7 min): once your headline’s wording is completely final, select it and convert it to outlines. Confirm it worked by checking that the Character panel commands are now grayed out for that text.
Converting text to outlines is permanent. You can no longer edit it as text afterward. Always finish your wording and proofread before you outline.
Exit Ticket / Wrap-Up (~5 min)
Screenshot your finished file: no overflow icon, image wrapped, headline outlined.
Why would a designer convert a logo’s text to outlines before sending a file to a printer, but never do that to a paragraph of body copy?
🗂 Organize: Save your fixed file with threaded text and no overflow icon in the Project Files folder of your Digital Design project folder on Google Drive. Save your file showing text wrapped around a placed image in the Project Files folder of your Digital Design project folder on Google Drive. Save your headline converted to outlines in the Project Files folder of your Digital Design project folder on Google Drive.
📤 Exit Ticket: 3-2-1. On a scrap of paper, write in complete sentences, not a list of fragments: 3 sentences describing things you did or made today, 2 sentences naming techniques or tools you used and how, and 1 sentence asking a question you still have.
Stuck on how to start? Try: “Today I ___. I also ___. I used ___ to ___. I also used ___ to ___. I’m still wondering ___.”