2.2 | Pixels vs. Paths
Key Terms
- Pixel
- Short for “picture element”. The smallest unit of a raster image, a single colored square in a fixed grid.
- Raster
- An image made of a fixed grid of pixels. Also called a bitmap. Photographs are raster images. Enlarging a raster image beyond its original resolution makes it look blocky or blurry, since Illustrator has to guess what color goes in the new, larger pixels.
- Bitmap
- Another name for a raster image. A map of individually colored bits (pixels).
- Vector
- A graphic built from mathematical paths (lines and curves) rather than a fixed pixel grid. Vector art can be scaled to any size, a business card or a billboard, with no loss of quality, which is why Illustrator, a vector-based program, is the standard tool for logos and icons.
- Path
- A line or curve made of anchor points connected by segments. The mathematical building block of every vector shape.
- Object
- A general term for anything you’ve placed or drawn on the artboard. A path, a group of paths, a placed image, text, and so on.
- Rasterizing
- Converting a vector object into a fixed grid of pixels. This is a one-way trip. Once rasterized, an object can no longer be edited as clean, scalable paths.
- Rendering
- The general process of a program calculating and displaying (or exporting) an image, whether that image started as vector or raster data.
- Resizing
- Changing an object’s dimensions. Vector objects resize with zero quality loss; raster objects lose quality when resized larger than their original pixel dimensions (a process called upsampling).
Yesterday was about the platform. Today’s about the program. Before touching a single tool, you need to understand the one idea that explains almost everything else Illustrator does differently from a photo-editing app: Illustrator draws with math, not with pixels.
Direct Instruction (~10 min)
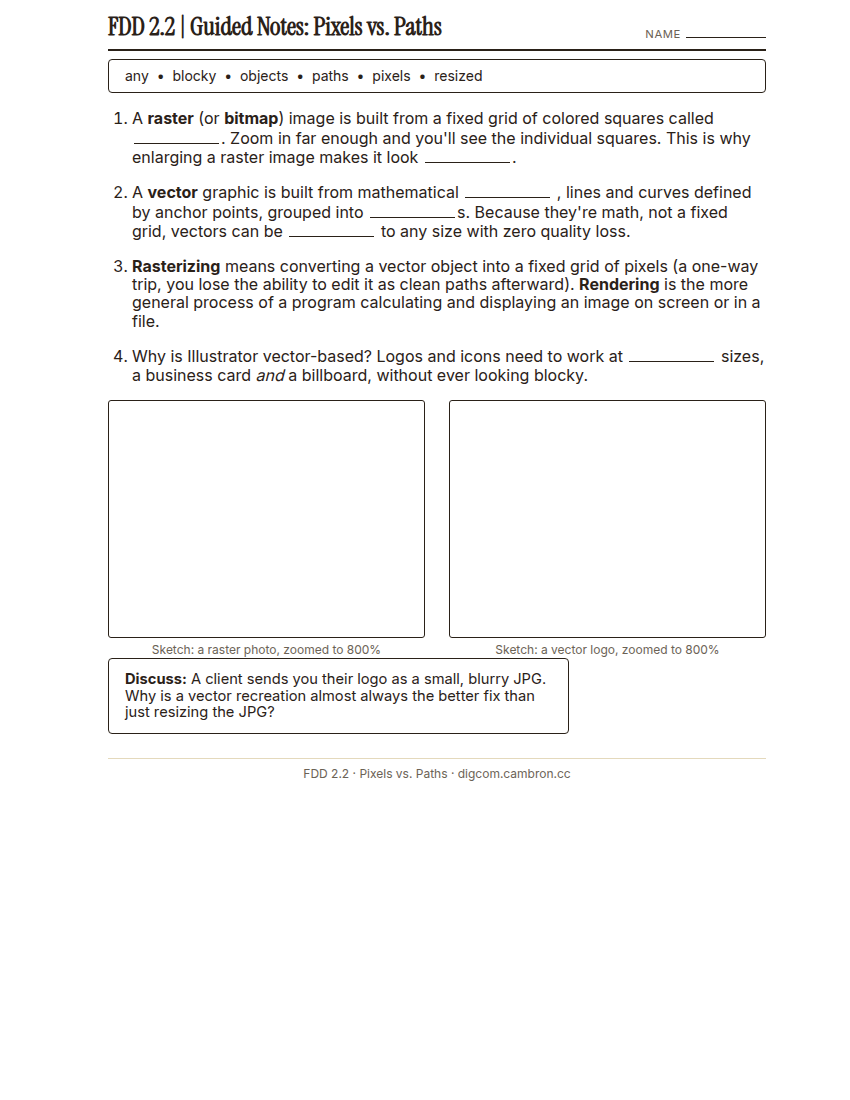
Complete the handout, three hole punch it, and keep it in your class binder.
⬇ Download Worksheet (PDF)“Every photo you’ve ever taken is a raster image. A fixed grid of colored squares. Zoom in far enough on any photo and you’ll always eventually see the blocks. A vector graphic doesn’t have that limit, because it isn’t stored as a grid at all. It’s stored as a set of mathematical instructions Illustrator recalculates every time you zoom or resize.”
Two more terms worth knowing precisely: rasterizing means permanently converting a vector object into a fixed pixel grid (a one-way trip), while rendering is the general process any program uses to calculate and display an image, raster or vector.
Scaffolded questions. Cold-call through all three:
Recall: “What’s the difference between a raster image and a vector graphic, in your own words?”
Analysis: “Why do you think a company’s logo almost always gets designed as a vector file, even though it’ll eventually be displayed on plenty of raster screens?”
Synthesis/Extension: “If you had to explain ‘rasterizing’ to a client who’s never touched design software, using an everyday analogy, what would you say?”
Guided Practice | The Arrow Master Challenge (~23 min)
Today’s hands-on practice is Design Dojo’s Arrow Master challenge, a single Illustrator file built in stages. Each stage teaches you a core tool by having you actually use it. Follow along with the walkthrough video at your own pace, pausing after each stage before moving to the next.
- Download the Arrow Master file from designdojo.org/challenges and open it in Illustrator. Following the video’s first minute: turn off tool tips, turn on zoom-with-scroll-wheel, enlarge the anchor point display in Preferences, and switch the workspace to Essentials Classic.
- Stage 1, Navigate: zoom (scroll wheel, or
Cmd/Ctrl+ spacebar) and pan (spacebar + drag) over to the ladybug. Read her callout: a vector graphic never pixelates, no matter how far you zoom in, the exact idea from today’s Direct Instruction. - Stages 2 to 4, Select, transform, and copy: use the black arrow (Selection tool,
V) to change fill and stroke colors, move/scale/rotate with Shift held for locked proportions and 90° snaps, and Option-drag to copy an object. Use the Transform panel to size an object exactly. - Turn and Talk: compare which stage you’ve reached with a neighbor before continuing.
- Stage 5, Magic Wand: select every same-colored stroke or fill across a whole object at once instead of clicking each piece individually.
- Stages 6 to 7, Isolation mode and the white arrow: double-click into a group to edit its parts without ungrouping, then use the white arrow (Direct Selection tool,
A) to move individual anchor points and reshape a path. - Final stage: combine everything, move, flip, Cut + Paste in Front/Behind, Magic Wand, to finish the last scene.
Most students reach around Stage 4 or 5 by the 23-minute mark. That’s expected, the next segment picks up right where you left off.
Cold call check: if you resized the ladybug down to a tiny icon and then back up to full size, would she lose quality? Why or why not?
Guided Practice, Continued (~30 min)
No GMetrix/BrainBuffet today. Keep working through Arrow Master from wherever you stopped, aiming to reach the final combined stage (moving, flipping, arranging, and recoloring the whole scene). If you finish early, go back and try one earlier stage a second time without looking at the video.
Finishing today isn’t a hard requirement. Anyone who doesn’t reach the final stage can pick it back up as homework or during a future strand block. What matters is real, honest progress, not speed.
Exit Ticket / Wrap-Up (~5 min)
🗂 Organize: Put your guided notes in your binder. Save your Arrow Master progress screenshot in the Photos folder of your Digital Design project folder on Google Drive.
📤 Exit Ticket: Glow & Grow. On a scrap of paper, write about today’s work in at least 3 sentences (aim for 5): describe one Glow (something that went well) and one Grow (one thing you’d do differently or improve next time), explaining each with real detail, not just a phrase.
Stuck on how to start? Try: “My Glow today was ___, because ___. My Grow is ___. Next time I’ll try ___.”