6.2 | Keyframes: Motion & Opacity
Key Terms
- Keyframe
- A marker that sets a property’s value (position, opacity, scale) at a specific point in time. Premiere animates smoothly between two or more keyframes.
- Temporal Interpolation
- How a value changes over TIME between keyframes. Linear (constant speed) vs. eased (gradual speed changes).
- Spatial Interpolation
- How a value changes through SPACE between keyframes. A straight-line path vs. a smooth curved path.
- Ease In / Ease Out
- A keyframe interpolation style that gradually speeds up or slows down motion, instead of starting and stopping abruptly.
- Opacity
- How transparent or solid a layer is, animatable with keyframes to create fades or reveals.
A static title just appears and disappears. A keyframed title moves in, holds, and moves out. And that difference is entirely about time, not new tools.
Direct Instruction (~10 min)
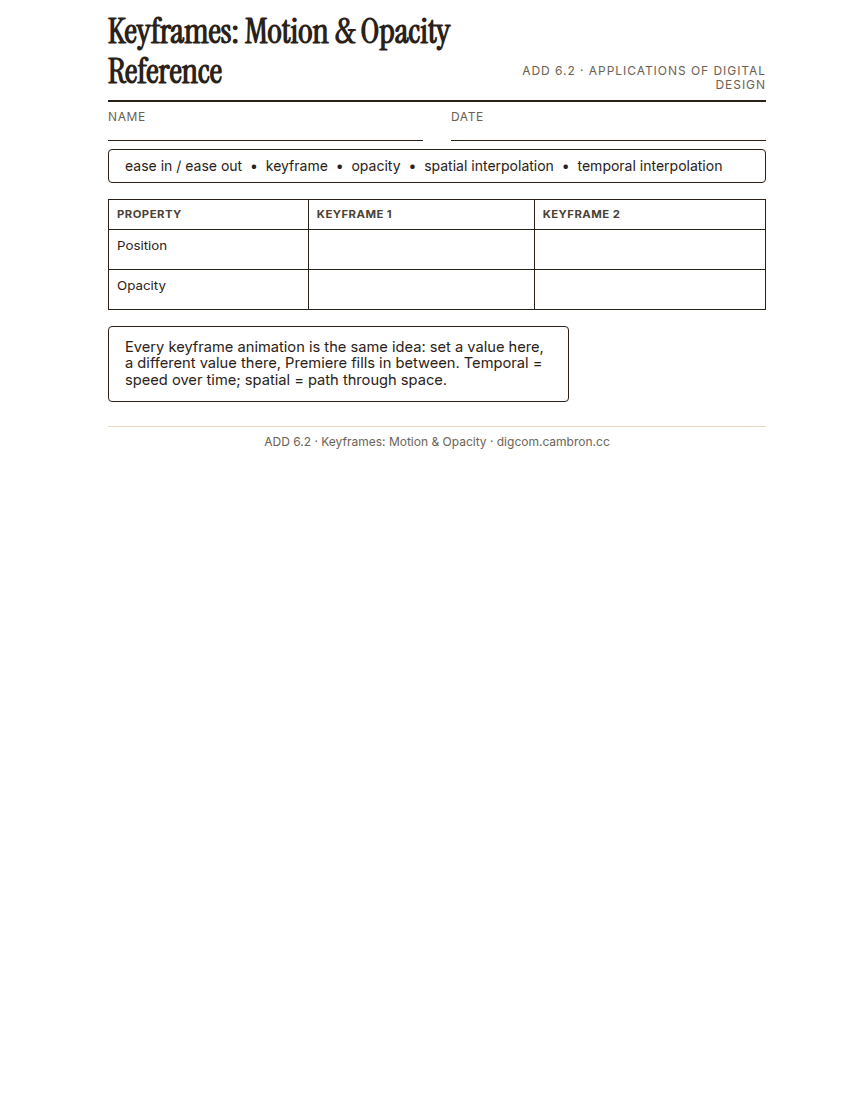
Complete the handout, three hole punch it, and keep it in your class binder.
⬇ Download Worksheet (PDF)“Every keyframe animation is the same idea: set a value here, set a different value there, Premiere fills in everything in between. Position, opacity, scale. It’s always the same mechanic underneath.”
Walk through: setting keyframes in the Effect Controls panel, temporal interpolation (speed over time) vs. spatial interpolation (path through space), ease in/ease out, and animating opacity for fades and reveals.
Scaffolded questions. Cold-call through all three:
Recall: “What’s the difference between temporal and spatial interpolation?”
Analysis: “Why does linear interpolation often look robotic compared to eased interpolation?”
Synthesis/Extension: “If you wanted a title to feel urgent and sudden vs. calm and gentle, how would your keyframe interpolation choices differ?”
Guided Practice | Animate a Title (~23 min)
- Add a title graphic to your sequence.
- Set 2 position keyframes to animate it moving on screen.
- Set 2 opacity keyframes so it fades in rather than hard-cutting into view.
- Apply ease in/ease out to at least one keyframe pair and compare it to linear.
- Partner critique: compare your eased vs. linear animation with a partner. Describe the difference in one sentence each.
If your animation still looks robotic after adding ease in/out, check that you actually applied it to BOTH keyframes in the pair, not just one.
Cold call check: a classmate’s title animates instantly from 0% to 100% opacity with no in-between. What’s missing from their keyframe setup?
GMetrix/BrainBuffet (~30 min)
Continue Module 4: today’s sections extend directly into speed ramping and motion.
Exit Ticket / Wrap-Up (~5 min)
🗂 Organize: Save your keyframed title animation sequence in the Project Files folder of your Digital Design project folder on Google Drive.
📤 Exit Ticket: Glow & Grow. On a scrap of paper, write about today’s work in at least 3 sentences (aim for 5): describe one Glow (something that went well) and one Grow (one thing you’d do differently or improve next time), explaining each with real detail, not just a phrase.
Stuck on how to start? Try: “My Glow today was ___, because ___. My Grow is ___. Next time I’ll try ___.”