5.4 | Essential Sound: Mixing & Repair
Key Terms
- Enhance Speech
- An Essential Sound tool that automatically improves dialogue clarity and reduces background noise from field or podcast recordings.
- Loudness Auto-Match
- A tool that automatically levels out inconsistent volume across multiple clips to a consistent loudness target.
- Auto Ducking
- Automatically lowering music volume whenever dialogue is present, then raising it back up when dialogue stops.
- Repair
- Essential Sound tools that remove specific audio problems, hum, reverb, background noise, without a full manual EQ pass.
- Remix
- Automatically adjusting a music track’s length and arrangement to fit a target duration.
- Conforming
- Matching an audio file’s format/sample rate to your project’s settings so it plays back correctly.
- Fade Handles
- The draggable corner controls on an audio clip that create a fade in or fade out.
- Mono / Stereo Tracks
- Mono audio is a single channel; stereo audio is two channels (left/right) that together create a sense of space.
- Syncing Audio
- Aligning a separately recorded audio track to match its corresponding video footage exactly.
Recording clean audio was step one. Today’s step two: mixing it into something that actually sounds like a finished podcast, not a raw take with music dumped on top.
Direct Instruction (~10 min)
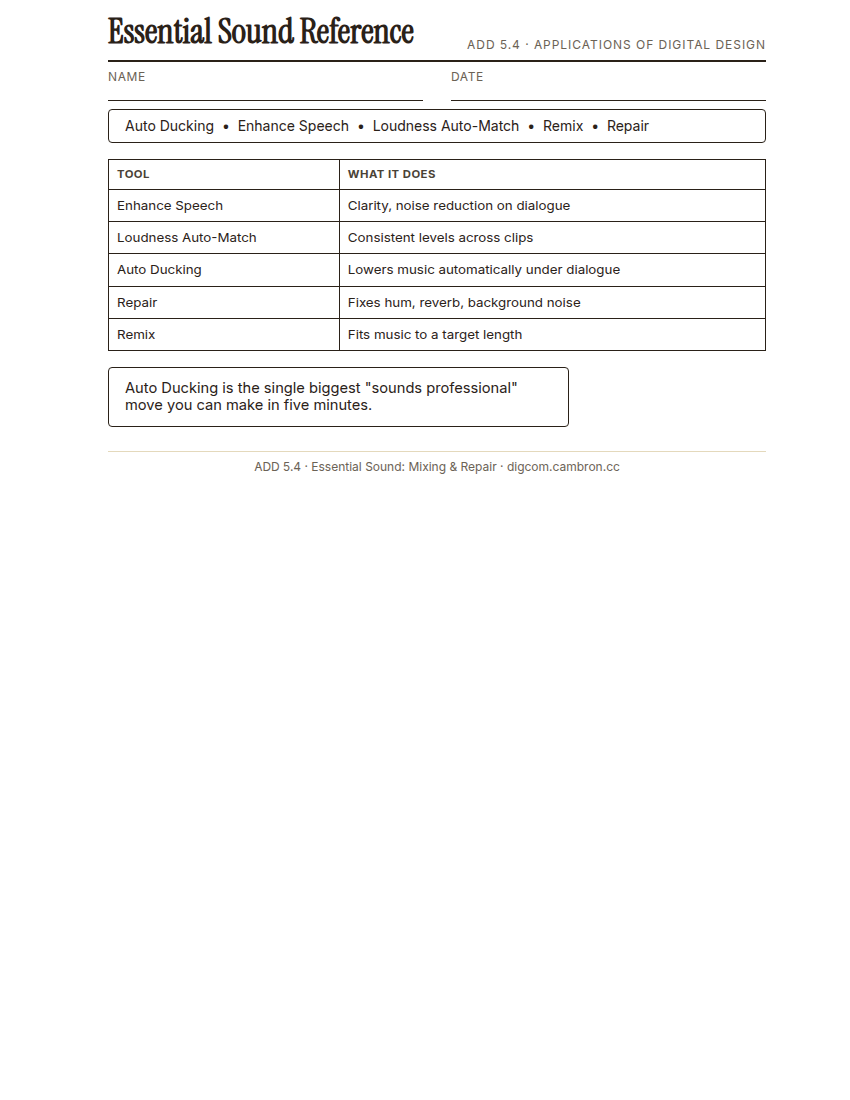
Complete the handout, three hole punch it, and keep it in your class binder.
⬇ Download Worksheet (PDF)“Auto Ducking is the single biggest ‘sounds professional’ move you can make in five minutes. > music that automatically steps back under dialogue and comes back up between lines is the difference between amateur and podcast-ready.”
Walk through Premiere’s Essential Sound panel: Enhance Speech (clarity/noise reduction), Loudness Auto-Match (consistent levels across clips), Auto Ducking (music under dialogue), Repair (fixing hum/reverb/noise), and Remix (fitting music to a target length).
Scaffolded questions. Cold-call through all three:
Recall: “What does Auto Ducking actually do?”
Analysis: “Why is Loudness Auto-Match especially important when you’ve recorded multiple clips at different times?”
Synthesis/Extension: “If Enhance Speech and Repair both claim to reduce noise, when would you reach for one over the other?”
Guided Practice | Mix Your Segment (~23 min)
- Import your 5.3 voice-over and a music track into a new sequence.
- Apply Enhance Speech to your dialogue clip.
- Set up Auto Ducking so the music lowers automatically under your voice-over.
- Apply Loudness Auto-Match if you have multiple dialogue clips at different volumes.
- Add fade handles for a clean fade-in at the start and fade-out at the end.
- Partner listening check: play it for a partner. Is dialogue ever hard to hear under the music?
Cold call check: your mix sounds great through headphones but muddy on a phone speaker. What Essential Sound tool would you revisit first?
GMetrix/BrainBuffet (~30 min)
Finish Module 3, including its module-completion checkpoint, due this unit.
Exit Ticket / Wrap-Up (~5 min)
🗂 Organize: Save your mixed sequence in the Project Files folder of your Digital Design project folder on Google Drive.
📤 Exit Ticket: 3-2-1. On a scrap of paper, write in complete sentences, not a list of fragments: 3 sentences describing things you did or made today, 2 sentences naming techniques or tools you used and how, and 1 sentence asking a question you still have.
Stuck on how to start? Try: “Today I ___. I also ___. I used ___ to ___. I also used ___ to ___. I’m still wondering ___.”