11.3 | Lower Thirds & Titles
Key Terms
- Composition (Comp)
- The container or workspace where every layer, effect, and animation in an After Effects project comes together, the equivalent of a Premiere sequence.
- Layer
- A single element (text, image, shape, video) inside a composition that can be animated and manipulated independently of every other layer.
- Anchor Point
- The fixed point a layer rotates and scales around. Move it off-center and rotation swings around that new point instead of the layer’s middle.
- Precomposing
- Grouping several layers into a single new composition nested inside the original, so they can be animated, scaled, or effected together as one unit.
- Render Queue
- After Effects’ export system. Add a composition to the queue, choose render/output settings, then render, similar to Premiere’s Media Encoder but built into the same application.
A lower third has about three seconds to tell a viewer who’s talking. Every design and animation choice here serves that one job: fast, legible, gone before it overstays its welcome.
Direct Instruction (~10 min)
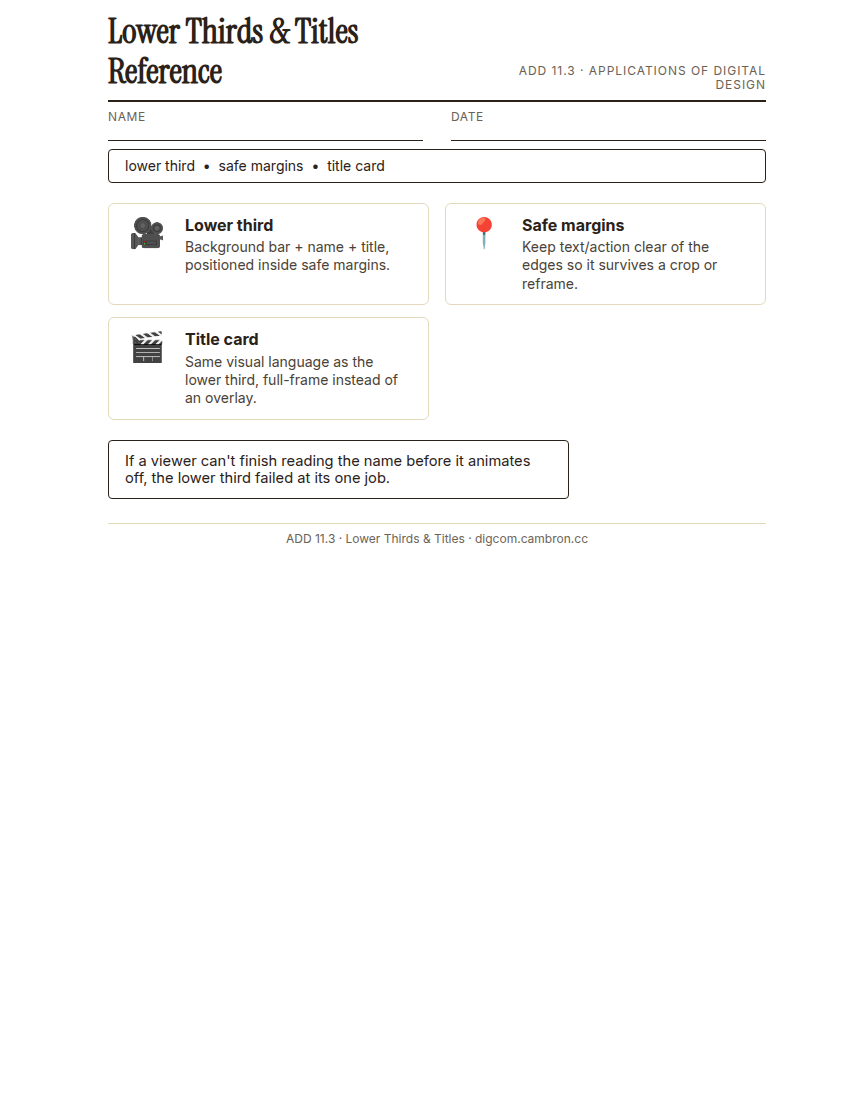
Complete the handout, three hole punch it, and keep it in your class binder.
⬇ Download Worksheet (PDF)A lower third sits in the bottom third of frame: a background bar plus a name and title, positioned inside safe margins so it survives a crop or reframe. Animate it in with a quick, eased motion (a slide, a fade, a wipe), hold it long enough to actually read, then animate it out the same way. A title card uses the same visual language (color, font, motion style) for a full-frame opener instead of an overlay.
“If a viewer can’t finish reading the name before it animates off, the lower third failed at its one job. Design for reading speed, not for how good the animation looks in isolation.”
Scaffolded questions. Cold-call through all three:
Recall: “What two pieces of information does a standard lower third usually show?”
Analysis: “Why do safe margins matter more for a lower third than for most other motion graphics?”
Synthesis/Extension: “Your interview subject’s name is unusually long. What design or animation choice would you make to keep the lower third legible?”
Guided Practice (~23 min)
- Design a lower third (background bar, name, title) for a hypothetical interview subject.
- Check it against safe margins.
- Animate it in with eased keyframes (slide, fade, or wipe).
- Animate it out, matching the in-animation’s style.
- Turn and Talk: critique a partner’s lower third for legibility and hold time.
How much on-screen time does a lower third actually need to be readable, and how did that constraint shape your design?
Studio/Project Work Time (~30 min)
Design and animate a matching title card, full-frame, same color/font/motion style as your lower third, so the two feel like one cohesive graphics package.
Exit Ticket / Wrap-Up (~5 min)
Save your file, then screen-record or export your animated lower third.
🗂 Organize: Put your guided notes in your binder. Save your animated lower third in the Project Files folder of your Digital Design project folder on Google Drive.
📤 Exit Ticket: Emoji Meter. On a scrap of paper, draw ONE face that matches how confident you feel about today’s skill: 🙁 (not yet), 😐 (getting there), or 🙂 (got it). Then explain why in at least 3 sentences (aim for 5), connecting your answer to something specific from today, not just a general feeling.
Stuck on how to start? Try: “I drew ___ because ___. Specifically, when I tried to ___, I ___. Next time I want to ___.”